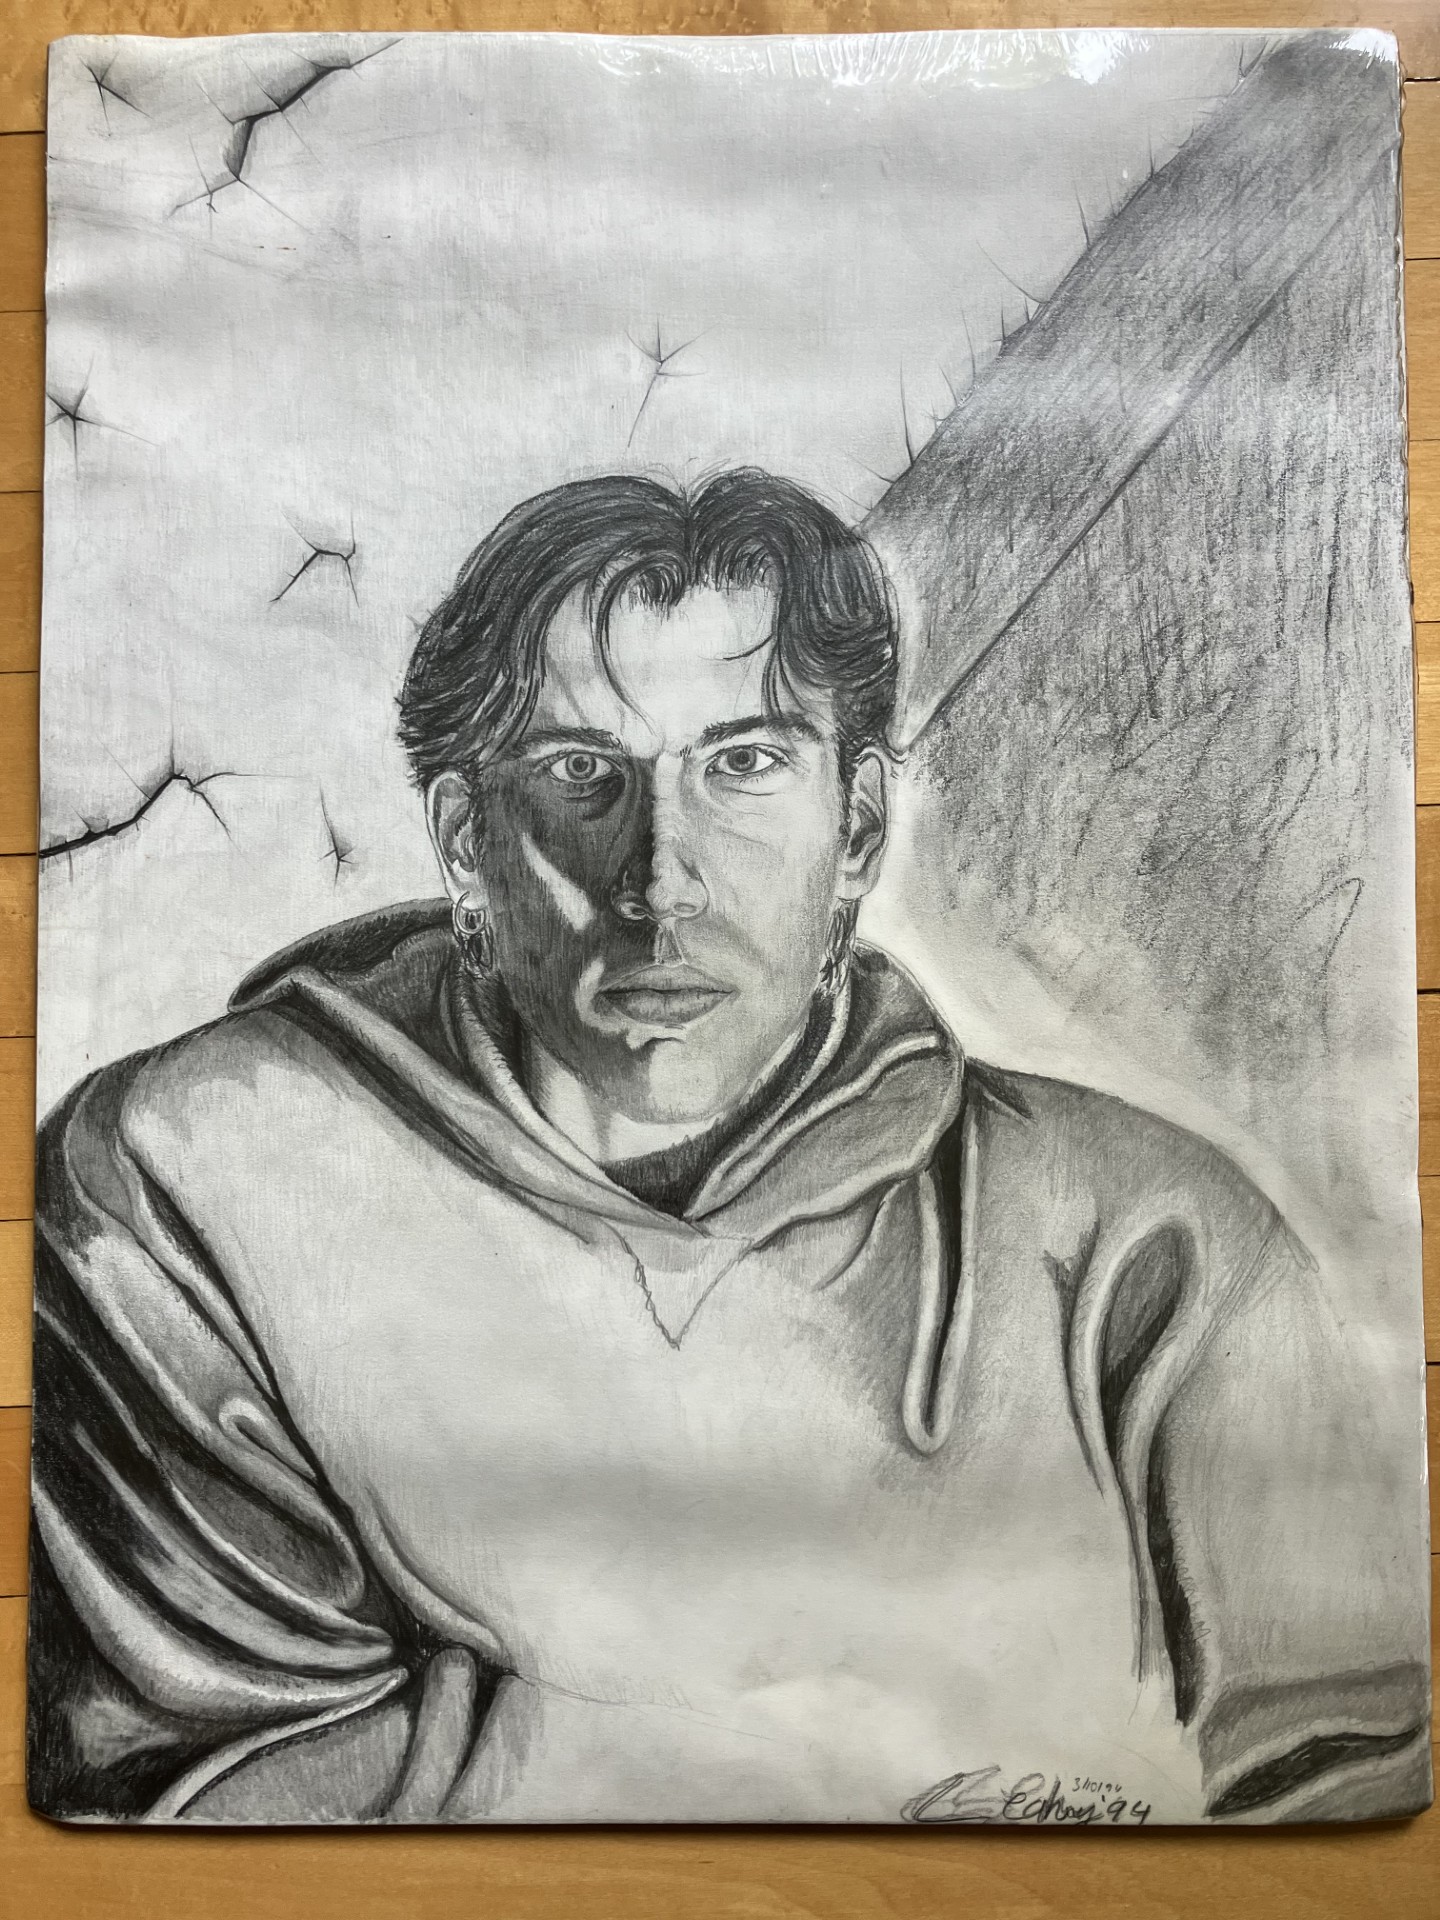
This is a drawing I did during my first year in Taiwan. I ended up staying in Taiwan for two years. But my first year was in Taichung and it was kinda a rough start. I stayed in some dodgy stinky hotels and it was 2-3 months before I found a job. The first room that I rented is where I started to do this drawing. It wasn’t a nice one though.
I had a really dirty roommate who would track all kinds of mud and dirt into the bathtub. It was disgusting. I didn’t stay there for too long. It was a real culture shock and not fun. Things improved though eventually and I got my own place to rent which was better.
Huo guo, bu jian wenzi, & kong chi wu ran (hot pot, invisible mosquitos and air pollution)
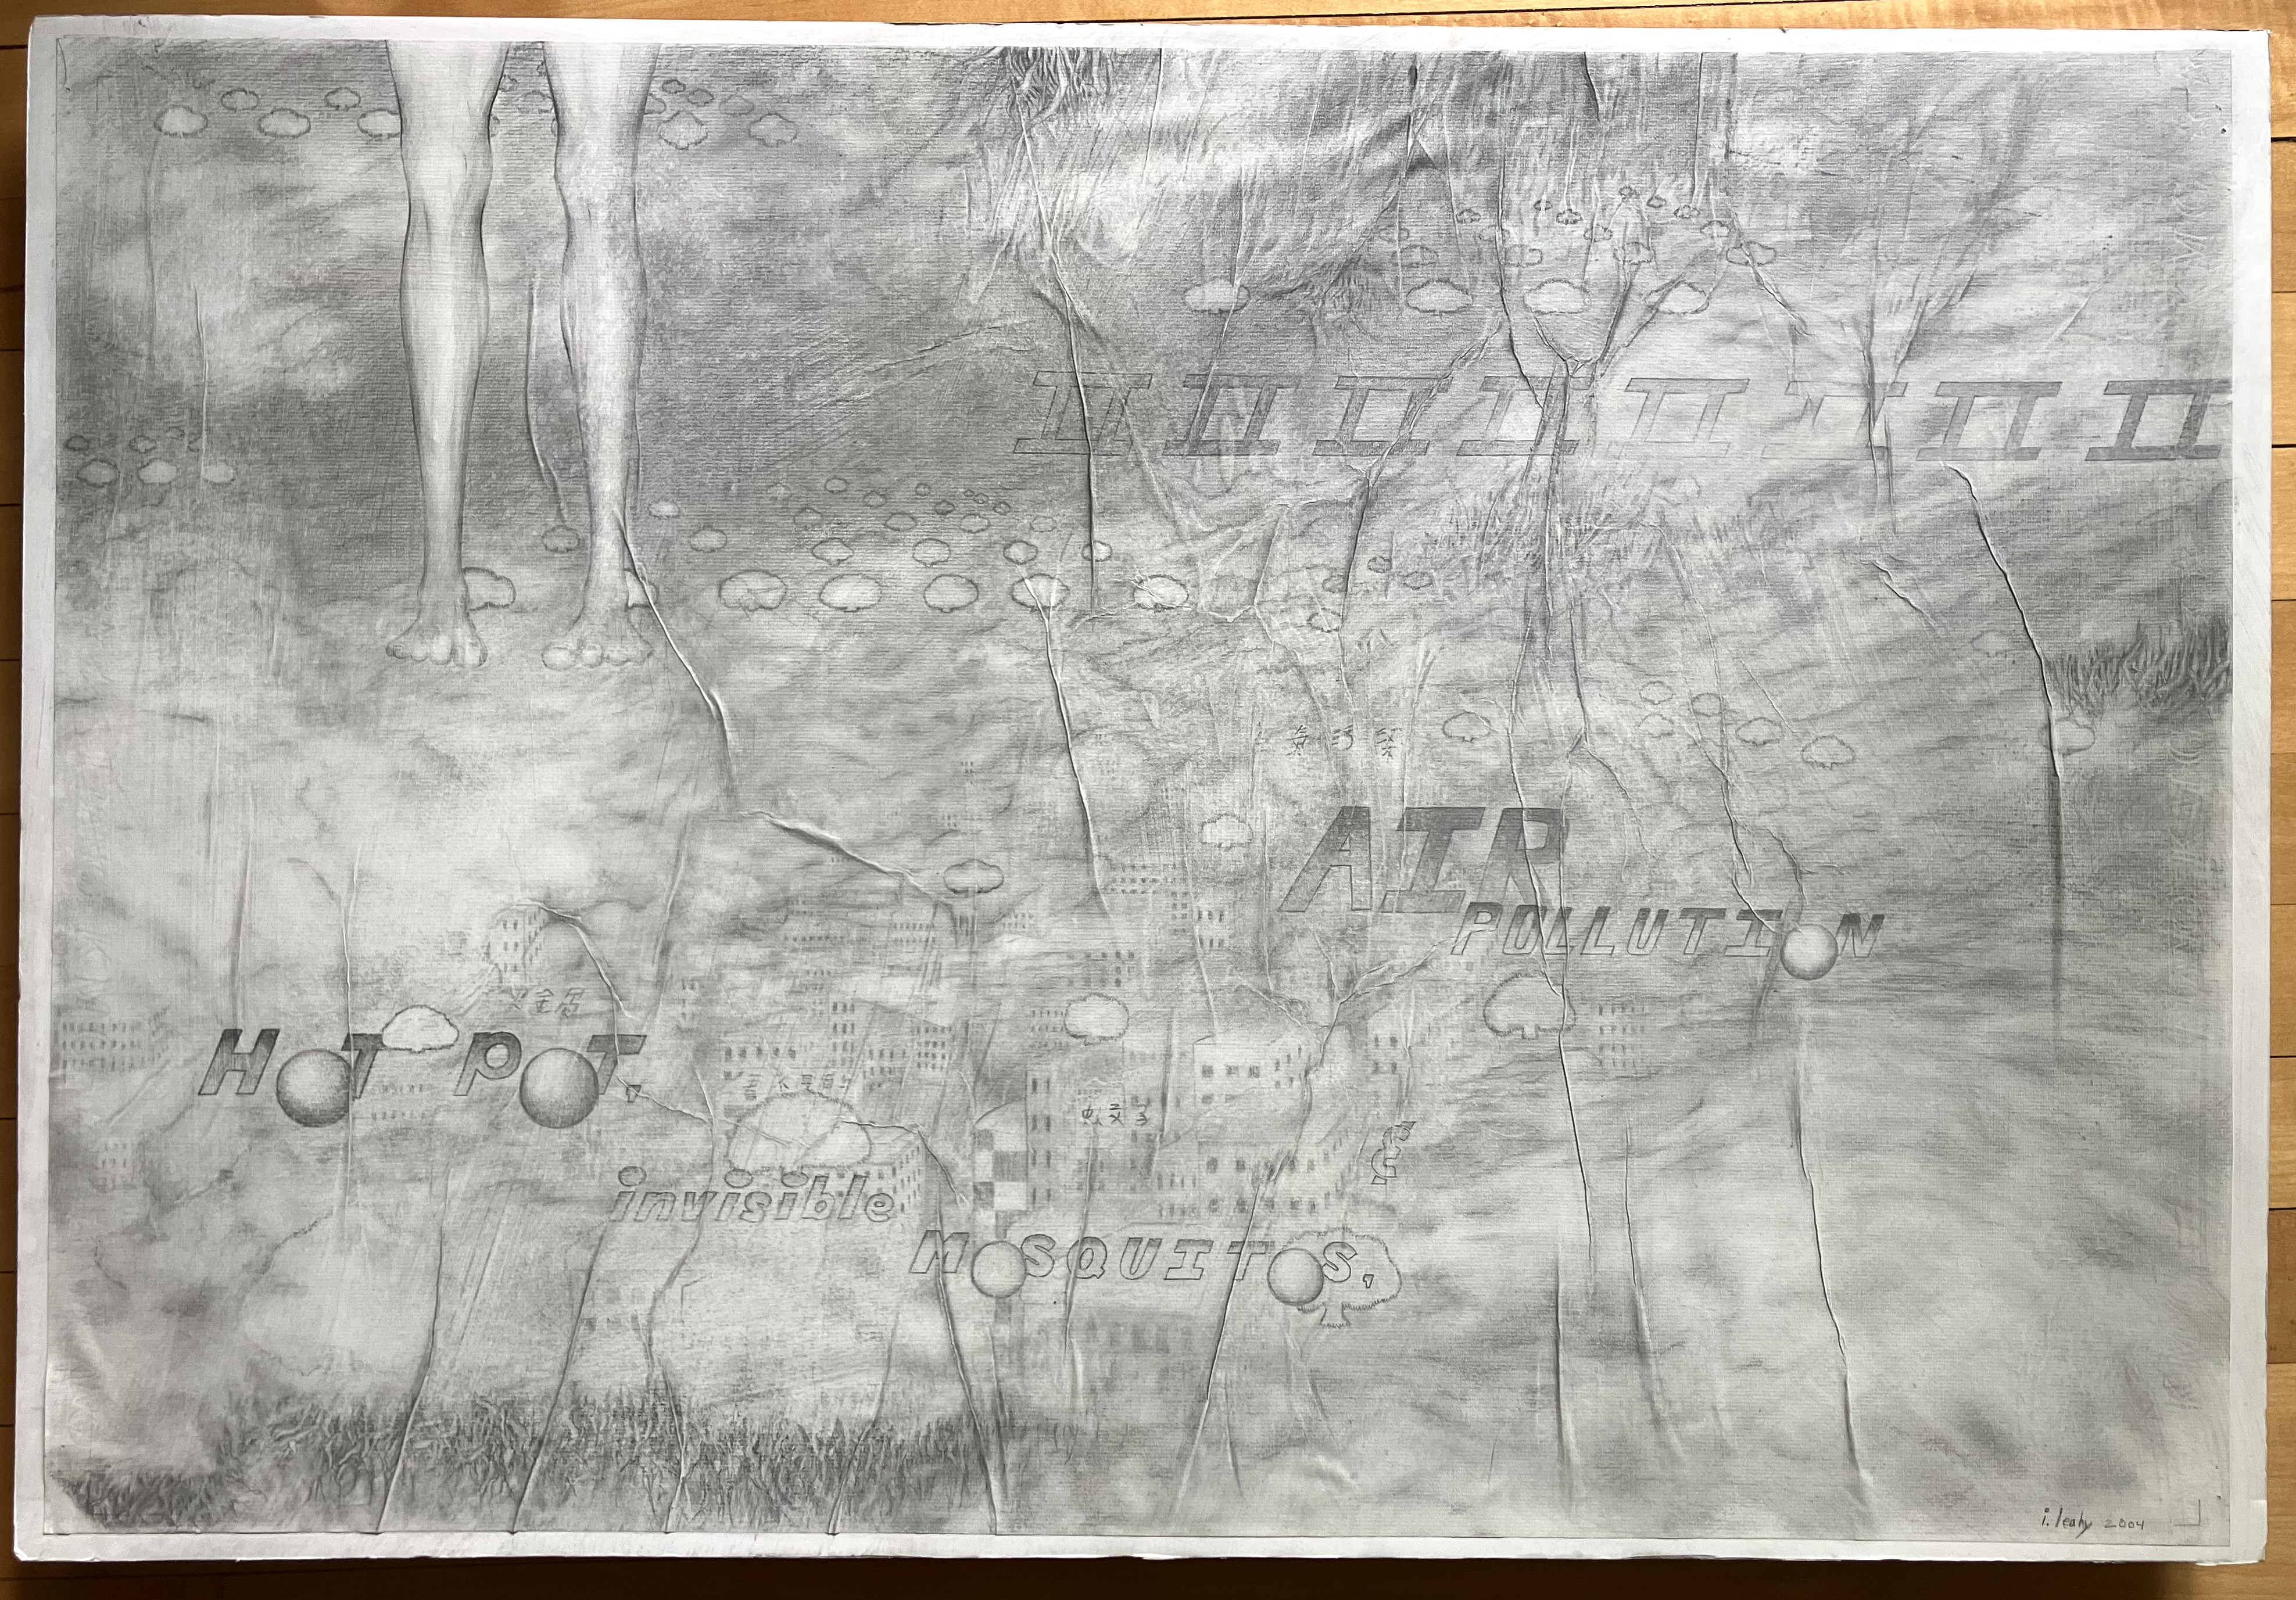
The story behind it… Aside from where I was living (the apartment) when I drew this.. I think it’s about culture shock in a way and feeling uprooted hence my skinny legs, haha.
Hot pot (Huo guo)
Huo guo (hot pot) is really popular there but I never I got it. Didn’t really like it. Every time I ate it I would burn my mouth. You know you’re hungry and you want to eat, but hot pot is kinda slow going and you are cooking various foods over and into a soup. It’s something you usually eat with other people and it seemed like everyone loved it there except for me.
I was a strict vegetarian at the time and ate out at the restaurants every day. One cool thing about Taiwan is that they have some vegetarian restaurants for the Buddhists and that is where I ate everyday. Some of it was really good.
Invisible mosquitos
I remember trying to sleep in that room in my first apartment and hearing mosquitos buzzing around my head at night. Sometimes I would pull the sheets over my head to try to keep them away.
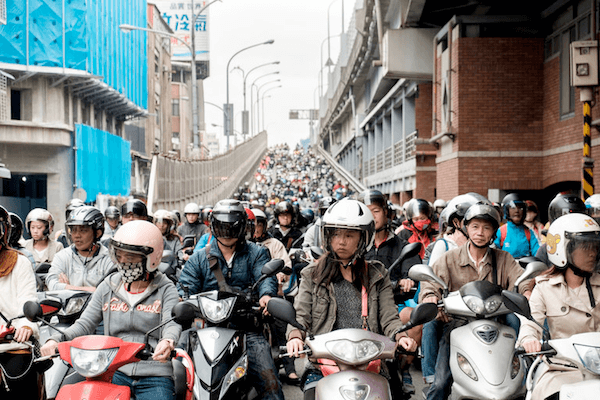
Air pollution
This probably bugged me the most about Taiwan. There are too many scooters, literally millions of scooters. The population of Taiwan is around 23 million and that has not changed much in 20 years.
I was primarily in Taiwan from 2004-2006 in Taichung and later Tainan and it may have changed since, but yeah so many scooters. So much noise and pollution from them. Taichung wasn’t the biggest city. 3rd biggest at the time. There were some buses that I used and I got around by bike too but that also wasn’t very fun as the streets were pretty crowded.
In my 2nd year I moved to Tainan where I did get a scooter and worked out in the “countryside” in Alian, Taiwan at a language school and commuted from Tainan.
My experience teaching English in Taiwan was tough, but a good.