This is my dream rig. I was looking for a few years for a step van and there were a few I was considering and all were usually old USPS trucks. I was looking at 1987 Chevy P30’s (6.2 diesel), the 2002 Freightliner MT 45 (24 valve Cummins), the 2003 Workhorse P42, the 2004 M Line (Mercedes 4 cylinder) and a few other Chevy P30’s in the late 90’s.
I wanted a diesel and I preferred the look of the P42, but also looked at all the above models and test drove an ’87 and that one I also liked. I think I preferred the dually’s and the 2002 and 2004 models were single back wheels. I had to search high and low to find this. None were anywhere close to where I live. I spent a good year and a half looking.
There were some close calls, like one time I flew all the way out to Bellingham, Washington to buy one and then I had some difficulty getting all the money out of the ATM in the same day to buy it which apparently annoyed the seller. He said he had to go back to Seattle for school since it was a Sunday and then he suddenly ghosted me. Totally stopped answering emails and calls.
To get this one I had to travel 2000 miles all the way to North Dakota from New Hampshire to get it and this was the first vehicle I ever bought.
Where do you get these?
All these old USPS vans start at auction sites like Govdeals, Govplanet and other auction sites and this is the first place to look. Then some people get them and resell them so you can also look on Craigslist and Marketplace. I found mine on Marketplace who got it from someone who bought it from someone who bought from someone who got it through an auction. The USPS won’t sell directly to consumers.
Playlist on my van:
Things I’ve done on it:
No experience fixing cars, trucks etc up. Just want to learn how to do basic maintenance.
Changed the oil/oil filter
Changed the fuel filter
Changed the air filter
Changed the transmission fluid/filter (it has a 4L80E trans)
Fixed the door lock
Fixed the sliding window lock
Removed a ton of rust especially from the rear end painted and then did an oil/wax coating, next year a diy fluid film with mineral oil, lanolin and citrus solvent, following year linseed oil and citrus solvent
Removed the liftgate (sold finally after a year or two)
Removed the back roll up door (also for sale)
Changed the PMD (pump mounted driver which is a common problem on 6.5 diesel engines)
Replaced the fuel filler dish
Cleaned many of the electrical grounds
Changed the glow plugs which was a big pain and 1 got stuck :-/
Changed the wiper pulse module. They turned on by themselves one day and wouldn’t shut off.
Changed the wiper fluid tank and wiper fluid motor as that stopped working.
Put a new tail pipe on
Greased the drive shaft
Changed the axle gear oil
New sway bar bushings
Added a cigarette lighter so I could charge my phone!
On my to do list:
Figure out ABS light speed sensor issue
Fix valve leak, ehhh I tried, could’t get the fuel lines off, but at least tightened a couple loose valve cover bolts
Stuff mechanics did on it:
Replaced the sway bar links
Alignment
New front tires (commercial tires are pricey!)
Installed shifter cable (I should of done this!)
Adjusted plates in the steering so they said
Fixed turn signal, bright lights lever by replacing some spring
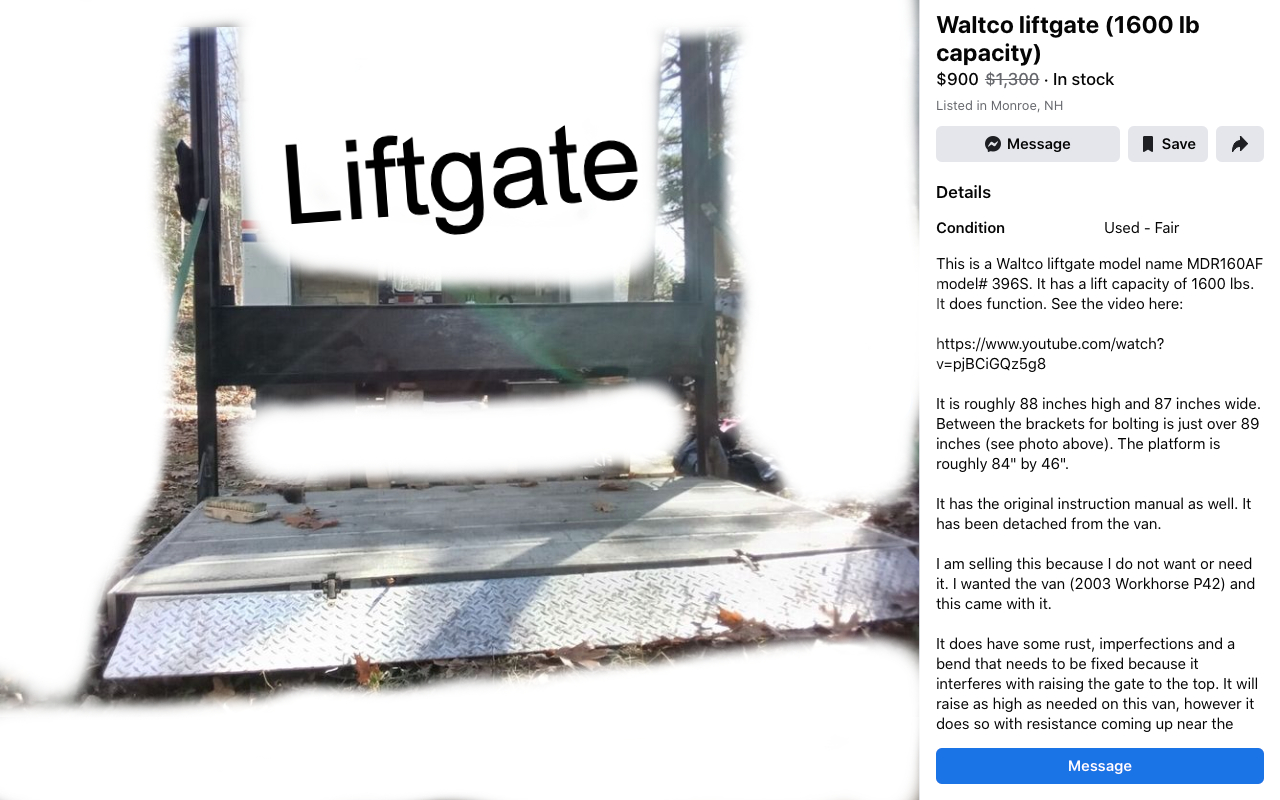
This liftgate I got came with the 2003 Workhorse P42 I wanted. Don’t need the liftgate so it’s for sale. It is in fair condition. Check this video out to see it in action.
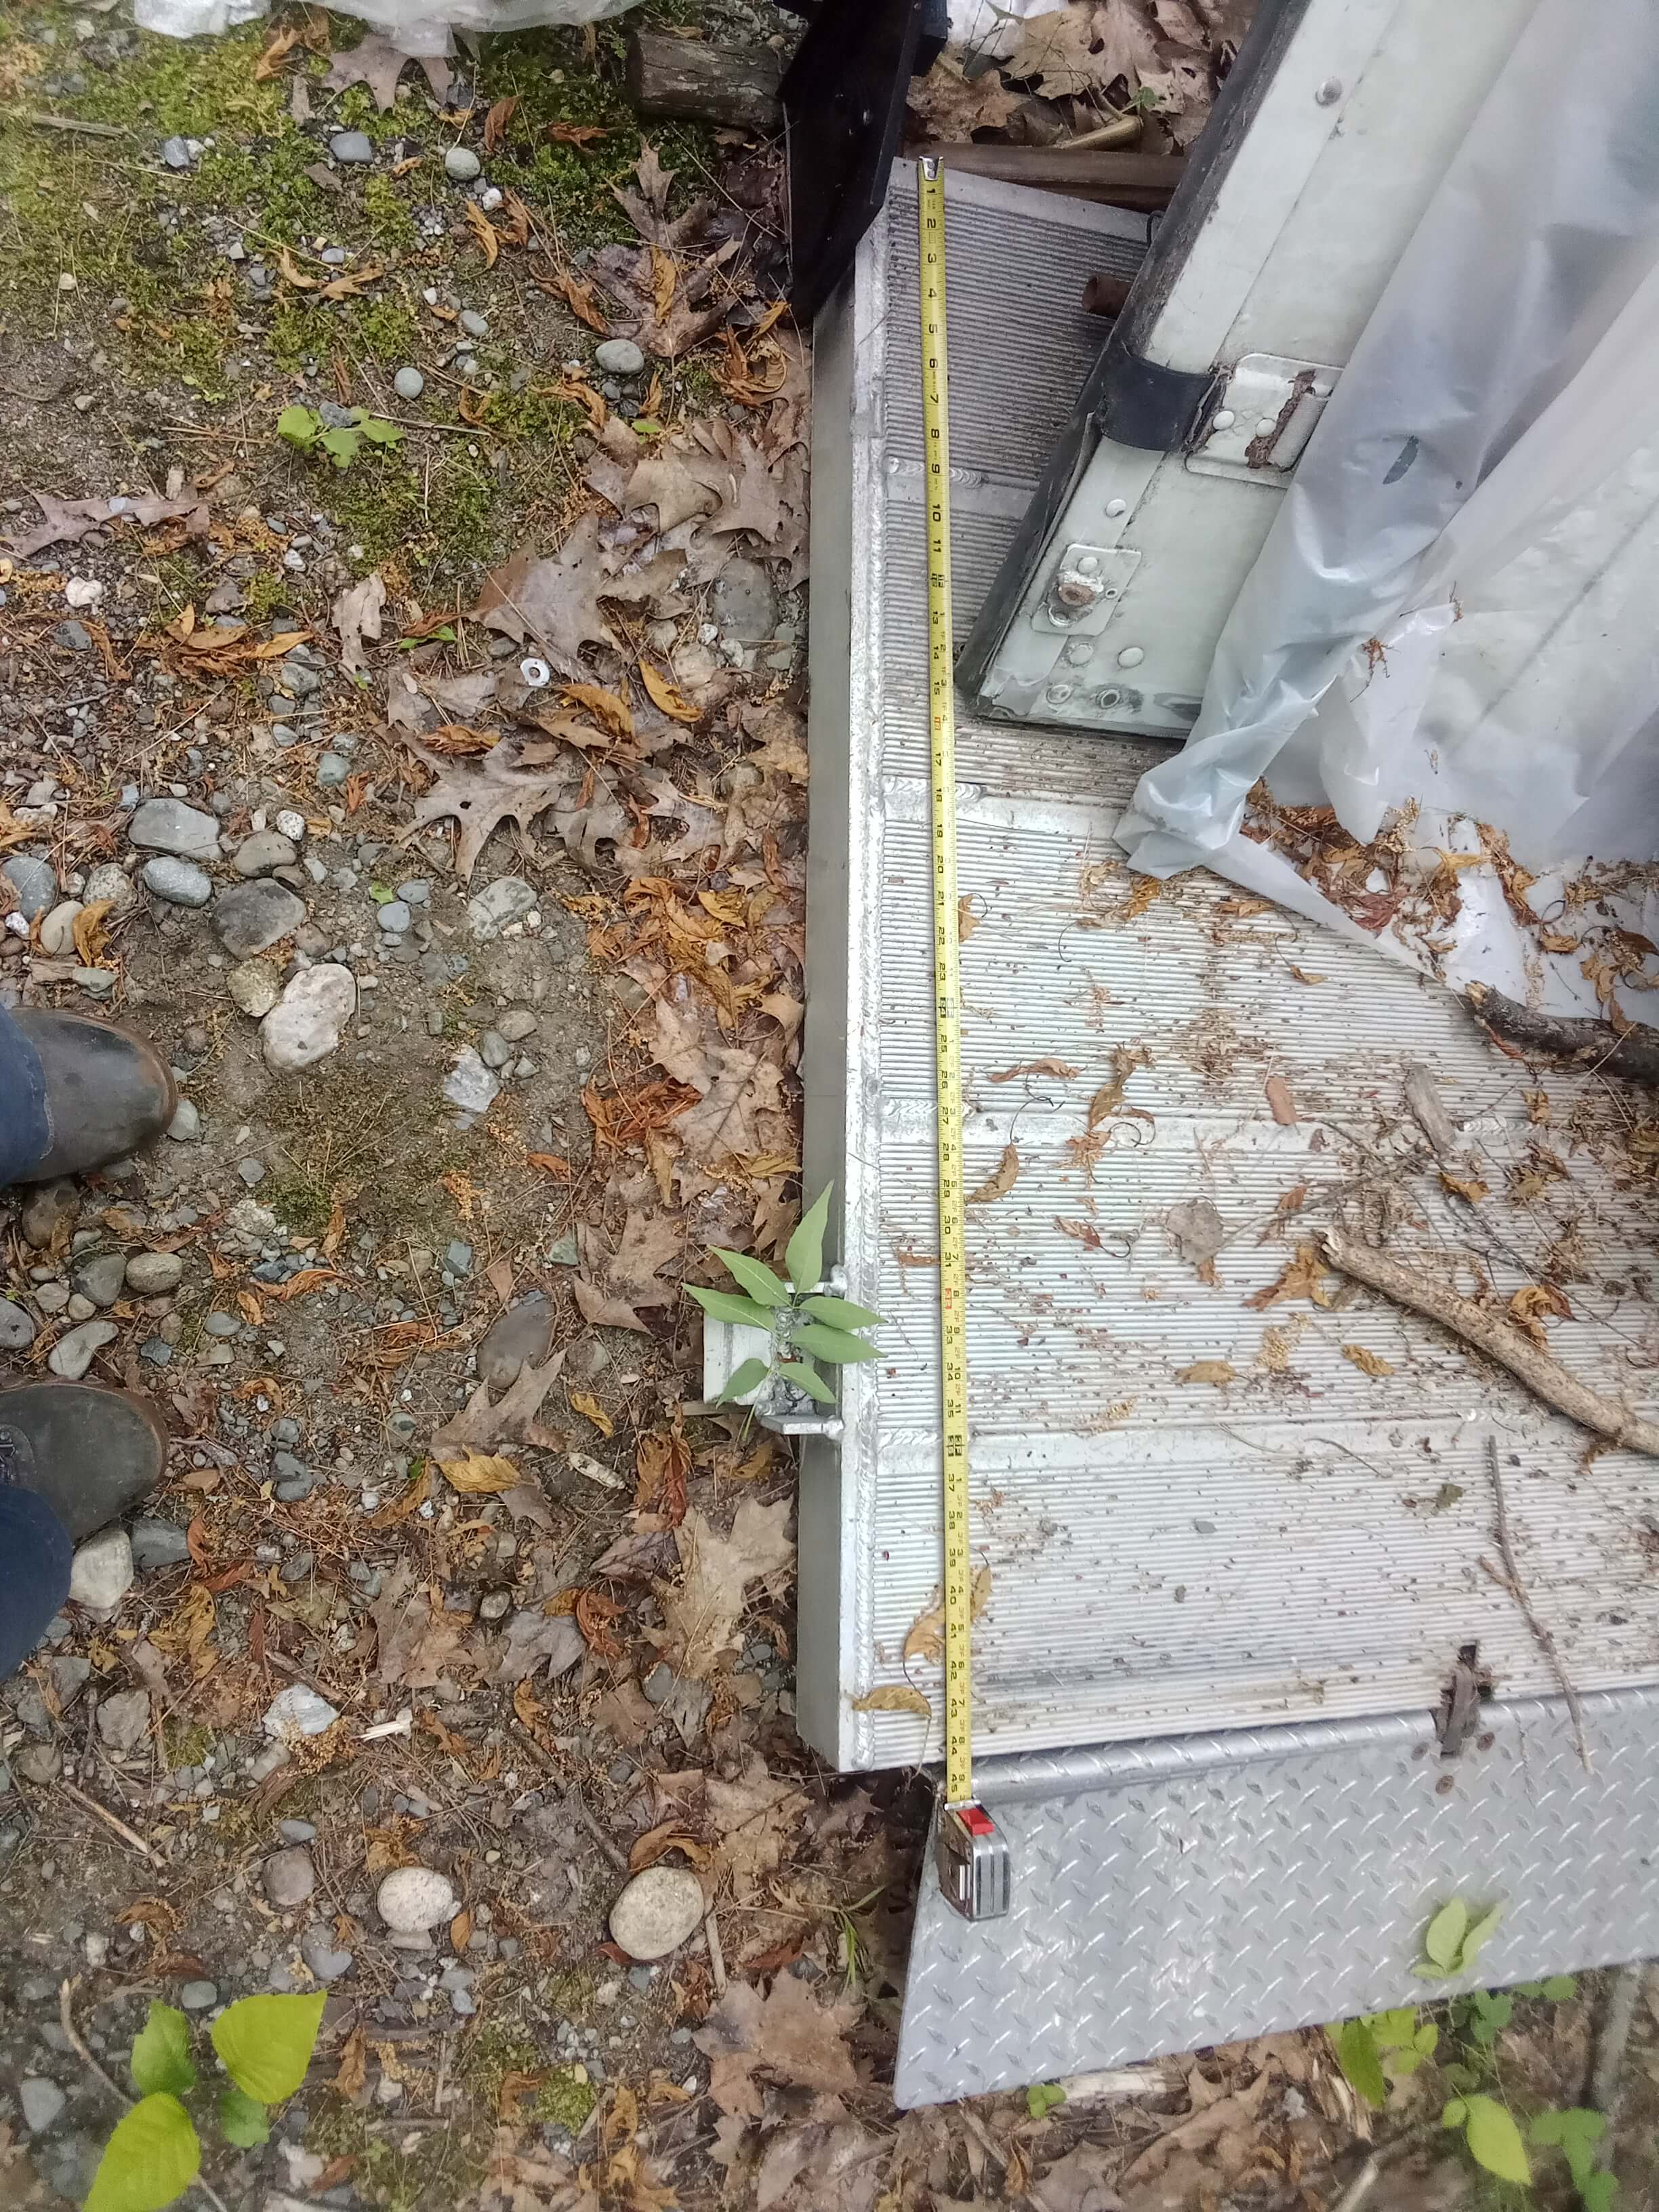
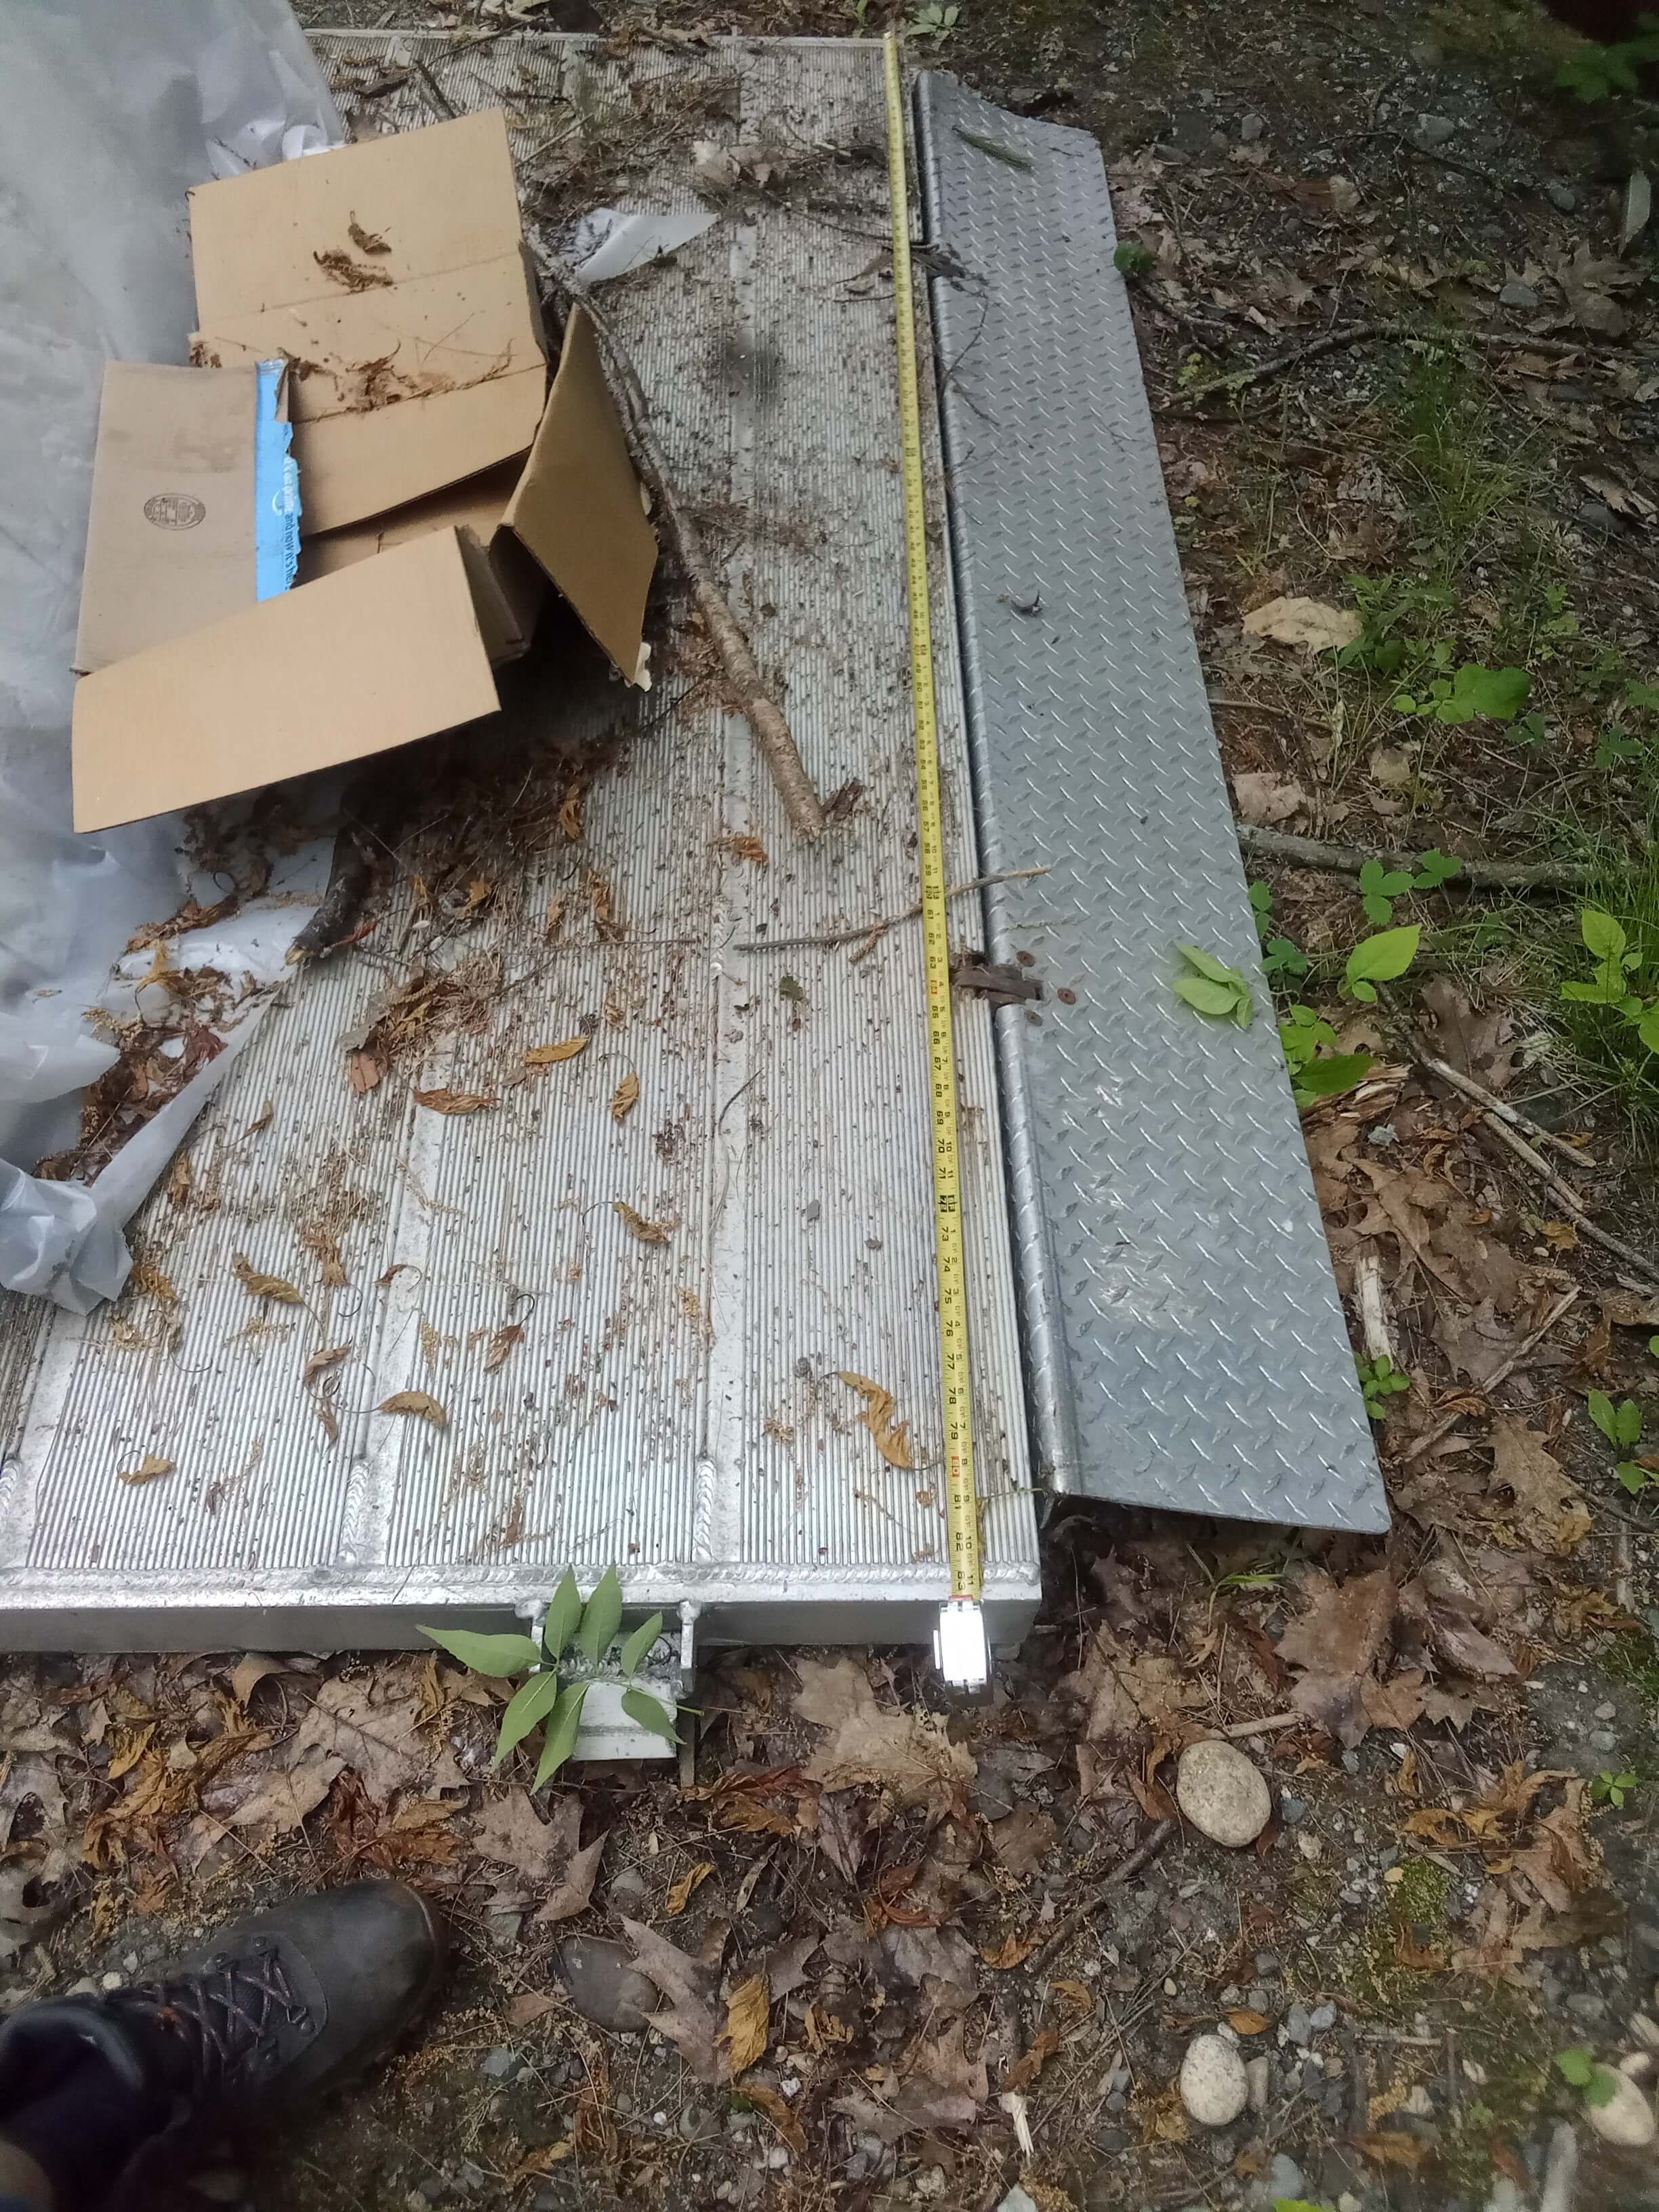
It is roughly 88 inches high and 87 inches wide. Between the brackets for bolting is just over 89 inches (see photo above). The platform is roughly 84″ by 46″.
It has the original instruction manual as well. It has been detached from the van.
It works but it also needs some work to keep it going like one of the sides is bent so it interferes with it going all the way to the top smoothly.
It’s got rust. I removed some of this and painted it but it needs some love and probably a new panel on the back as that thin sheet metal has a hole in it.
It has almost all of the wiring except the switch which is a simple toggle switch.
I recently bought Tom’s of Maine deodorant and it’s pretty weak. I wasn’t surprised as I tried it before and I’ve tried other natural deodorants which mostly don’t work well.
Like I like the idea of using a more natural deodorant, but one that works would be good.
Now last year I made a sunscreen out of natural stuff as I did a bit of research and learned there is a lot of toxic stuff you can’t pronounce in many sunscreens.
Zinc oxide is used in a lot of sunscreens and so I got some along with some shea butter. Shea butter is also supposed to have some SPF. I also added olive oil, and a little carob and cocao powder.
Shea butter is one of those oils that hardens so it’s good for making kinda of like a buttery like lotion. I put a lot of zinc oxide in it so I am uncertain of the SPF, but I think it is pretty high.
How does it work?
Good as long as I don’t miss a spot. It’s thicker so it doesn’t rub on like a lotion. You have to rub it in quite a bit and it has a whitening effect that’s hard to get rid of if you want to look normal. But if you rub it in good it won’t be so noticeable.
Works good as a deodorant.
I was impressed. It doesn’t take much.
Zinc oxide has some benefits/uses:
Anti-fungal
Anti-itch
Anti-microbial
Anti-inflammatory
Sun protection
Deodorant
Paint (add it to oil and you have zinc white)
Dental uses
Skin whitening (if you want to whiten your skin people do that in Korea)
The only bad thing is that it makes your skin white and you can’t always rub it in.
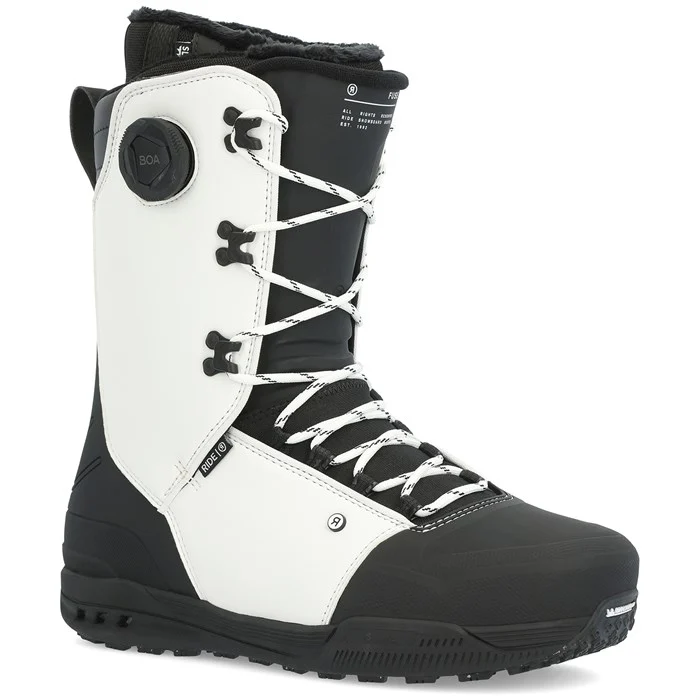
This is a review of the Ride Fuse snowboard boot. I bought this boot in 2023 to hopefully be the solution to my old Thirtytwo TM-3 boots. And I just added an update here on these boots in 2024 below.
Ride Fuse snowboard boot 2024
I first got the 8.5 Ride Fuse boot which was the same size as my previous boots, but after wearing it around my work I figured it was going to pack out and get more spacious. It definitely felt and looked bigger than the same size in my Thirtytwo boots.
So I looked a little longer and eventually found a size 8 and got them. I didn’t really like the blue color way much so I ordered some other blue laces that thought would go better than the white ones that came with it.
Ride Fuse boots are pretty stiff (8-10) out of the box for a freestyle boot.
They felt awkward and so I would wear them for an hour or two and then go back to my old 32 boots.
I think the Ride Fuse boots could get better, but as they were breaking in I found my self trying to customize them more by getting additional insoles to take up space. My feet are weird and my ankles are skinny which leads to some boot fitting issues.
With the size 8 Ride Fuse I noticed my foot was starting to move around in the boot so I got some heel shims then they kinda still moved and there were pressure points on the widest side of my foot where I developed bunions near my pinky toe probably from wearing my TM-3’s daily working 8-10 hours in the park.
So I already went through like two seasons of ongoing boot modifications with my TM-3’s so I started to think I would sell them on ebay.
But then I changed my mind after putting the old TM-3’s on again. But too big after a few weeks of using them so I got the 7.5.
What I liked about the Ride Fuse and it’s features
Pros:
It’s got an articulating cuff so when you flex the boot it doesn’t distort.
It’s mostly lace and has a boa for the tongue and inner liner.
The inner liner is different as it doesn’t have the traditional central tongue. It kinda wraps and is called the Mobile Trap Wrap Liner .
The rubber sole is pretty good for traction – Michelin® Hybrid Fiberlite Sole. Sometimes I thought the gripped my board better 1 footing than the TM-3’s but then others I thought maybe the TM-3’s got better traction walking in snow. But still good.
I like the exterior tongue on it – called Slime tongue which is supposed to provide dampening.
It’s a low volume boot. It has much less volume especially in the heel area of the boot compared to the TM-3.
It’s a fairly lightweight boot. It felt about half the weight as my TM-3’s.
Cons:
It’s not as heavy duty as my TM-3’s.
They are part BOA. Which is fine for some but they give me anxiety that they will break. They have not broke yet although I met a guy on ebay who said the dials on his broke.
Liners are kinda wimpy. They will pack out in 30 days and you’ll gain half to a full size. Probably pretty typical of snowboard boot liners (except TM-3‘s) although they have the wrap instead of traditional tongue which I liked at first although they did cause some light bruising on my shins.
Not very warm. I had a coworker with Ride Insano boots who was always going in to warm up his toes during the season.
They are not very waterproof. I’ve had 2 pairs of these and both in wet snow and rain would get wet and I would have to take the liners out (daily in spring) to dry. I think there was a leak in the seam of the sole.
I tried on a lot of boots before buying these online. And I actually never tried the Fuse on in a shop before ordering online. But I tried the K2 Maysis, other K2 boots, the Ride Lasso, Ride Lasso Pro, Ride Deadbolt, some Northwave boots, Deeluxe boots, Team ID and others, Burton Tourist, Salomon Echo, Salomon Launch, Salomon Dialogue, Rome boots (no articulating cuff) and more.
None of them really stood out however I tended to think the ski company boots (surprisingly) like Ride, K2 and Salomon fit better.
I read about the Fuse and heard good reviews on them and I remember a rep for Mervin boards saying to try on a lot of boots and find a company that has a mold that fits your foot better.
So it seemed like all the ski companies were fitting better and I can tell you to at least size down a half size for these boots and maybe all of Ride boots and for K2 boots too as they are made by the same company. In my experience all the K2 and Ride boots ran about a half size large.
I spent about 10 hours in the Ride Fuse boots and will probably sell them as they loosened up and I even wonder what a size 7.5 would feel like after the pack out or if I could even get into them. I mean in Thirtytwo boots my toes were crammed in the front and hurting but there was empty space around the rest of the foot that was hard to keep tight.
Measure with the Brannock device if you haven’t.
That’s a good starting point. I got one foot that is a 27mm (size 9) and another a 26.5 (size 8.5) and was told my volume is a 7.5 (skinny lower ankle heal area) so it’s complex fitting a boot.
I mean my toe space was good with the Fuse but they were loosening up and getting more spacious and my foot was moving around as mentioned before.
Update 2024 on the Ride Fuse
So I was trying to sell these on Ebay and then the start of this season I wore my old TM-3’s one day and got a black toe so I thought I am not doing that again and I took the Ride Fuse’s back out of the box and decided I needed to wear them.
So initially these were uncomfortable. I put some heel wedges in them to take up some space and another intuition insole under my left foot to take up some more space.
So these are stiff and I didn’t heat mold them and the liner right at the top at my shins hurt for 10-14 days. They got kinda red and bruised.
I also went from not riding to wearing these 8 hours a day almost every day working in the park and riding.
The liner I am not sure I like. At first I thought it looked cool but learned later that it distorts a bit when you flex. It kind of needs an articulating cuff like the shell has so it doesn’t do that. But you can only see this if you take the liner out of the boot and then do some bends.
And my ankles are skinny so it might not distort like it did for me. I got some pressure points in there that were caused by that.
So heat mold them if you can probably. Now they are a little better. My damn left foot is a pain to fit. It’s got less volume and width than my right foot but is a little longer.
I think in the last week or so they have improved some. But for a while there back I was trying on other boots.
They were really stiff at first and I couldn’t ride well, but they broke in. The bigger you are probably the faster they will break in. I am just over 150lbs.
So support is good, traction seems ok. As far as comfort goes not very, but improving ask me later how it went.
Overall I met other people that were pretty happy with this boot and on their 2nd or 3rd pair. So if it works for you it works. Definitely size down a half-size or go to a shop to try some on or buy multiple pairs online.
It’s a lightweight and low volume boot which is a plus. They are pretty stiff feeling which can take some getting used to. They are not a high-end boot but maybe med-high range and still pretty stiff. Like most boots do they will packout and loosen up with time.
Back in 2009 I was living in Busan, Korea and I took a trip down to Hawaii for a few weeks to escape Korea, buy a computer (actually the one I am using right now to write this in 2023), and skydive.
Why?
To do something scary and I was thinking then of starting my site ESLinsider.
Anyways this was in Oahu. I believe we flew up to around 12,000 feet in that little plane and jumped out. It’s a tandem dive so I don’t think I liked the guy I jumped with so much as he was a little uptight compared to the other coaches or whatever you call the guy you are strapped to…
But the jump was pretty cool. It’s like a free fall for a minute maybe until he pulls the chute. Cool to see the clouds coming and going through them. There’s some anticipation and a little bit of fear/excitement before the jump, but I think the scariest part was when he pulled the cord and then just hanging there in the air attached to him floating down to earth.
When you are free falling it’s going so fast, but I felt pretty vulnerable there all attached by my back to this guy and slowly coming down to earth.
I got this Bern helmet for snowboarding because my other helmet seemed a little big. That was a Giro Emerge helmet.
I think I liked the Giro but it looked a little big and it got looser with time so keep that in mind when you get a helmet. It might loosen and then consider if you will wear a balaclava or beanie or not.
So I liked the look of this Bern helmet and it is lower profile than the Emerge. But the MIPS system doesn’t look as sophisticated as the Giro. The Giro has a “spherical MIPS”system which is more than a thin piece of yellow plastic.
The only thing I didn’t like about the Bern macon 2.0 was the thing in the back is hard plastic and I went a little smaller and got a small vs. the med in the Giro.
It’s hard plastic and has no padding over it. If I unbutton one of the snaps where it attaches it will loosen and the pain goes away however it’s a little less tight and more wobbly.
I made this video comparing the two.
Bern Macon 2.0 vs. Giro Emerge
There were pluses and minuses to both.
The Giro Emerge also has PPE foam which is a little more capable of repeatable impact vs. the PPP foam in the Bern. However the PPP foam is lighter.
So in Dec 2022-Apr 2023 I worked at Brundage mt ski area in the terrain park which was great.
Here’s a video of me riding a bit in the Brundage terrain park in 2023. “Beat My Line” is my boss’s idea to see if we can bring together some shredder’s and share shred or something.
This is the first one of Brundage’s “Beat My line”
We tried it 3 times this one was probably my second best take. Funny how that can work your best take and something goes wrong with the camera. And the filming could probably be better, but it’s got to be tricky holding a camera (especially over or around those knuckles) and riding.
I did a frontside 360 melon grab off the first kicker came up a little short, a backside 180 and then I hit the rainbow switch and slide a 180 over it.
This video from Brundage contains what’s in the beat my line video and a few other shots.
Hiking some backcountry near Brundage. I was a looking for a place to build a jump and the video is a little shaky but it’s totally beautiful up there.
This is my second season working in the terrain park. I love it. I also briefly worked in the terrain park at AZ snowbowl back in the late 90’s before there were rakes!
So if you are thinking of working in the terrain park at a ski area then this is for you. You’ve got options for lots of different jobs, but is the terrain park for you?
Who is this job not for?
If you don’t ride the terrain park and you don’t think you’d like building features and taking care of them then it’s not for you. If you just want a job to get a pass well there are a lot of other jobs you could do like: rentals, waiting on tables, instructing, grooming, mechanics, janitor, hr, lifty, etc.
I’ve done instructing, rentals (2-3 seasons) and waiting on tables. All of them provided time where I could usually ride daily. If you got a night job you could ride all day.
At the beginning of last season at Cannon I had a job in rentals and my boss told me I wouldn’t be able to ride as much as the previous year because of school camps or whatever and in my mind I was like no way. I do this because I love to ride and no ride break sounds lame.
So I quit and moved out west and found a job working in the terrain park where I wanted to be anyways.
So…
If you don’t ride the terrain park then don’t work there.
If you are not stoked on it then don’t work there.
If you don’t ride the terrain park then you won’t care about the work that you do because you are not a user. If you hit these jumps and features then you will care and want them to be smooth.
I am surprised that where I currently work some of the guys are not that stoked on the work or riding the park.
What?
They seem a bit jaded and lazy. I don’t get it. You work at a great mountain that’s totally beautiful with a good park too and you don’t like it? Probably not for you. Fortunately this year I got a boss that knows what’s up and does good work. We’ve got groomers that focus just on the park.
Last year that wasn’t the case. At Lookout not one of the groomers cared about the park. None of them rode it and getting them to do anything other than groom around all the features was difficult. They would cut out the sides of the landings when passing through and never actually groomed the landings.
You need a dedicated crew for that someone who cares.
This year is a different story we got a good guy in charge, but some folks (rakers) that have been here a long time hanging around that just don’t care that much.
Duties working in the terrain park:
Open and close the park
Place signs
Open and close ropes
Set up fencing
Carry tools sometimes when riding
Raking features (this a big part of the job)
Patrol park
Block off jumps and call patrol when needed
Teach people common sense like clear the landing when you fall and don’t put your ski’s on on top of the jump
Radio when needed
Set rails and boxes
Set brushes or whiskers or paint edges of jumps
Test features
Rake! Keep jumps and features smooth
I like making jumps
Even when I am not working in the terrain park I tend to find myself building jumps. A few seasons back I built a little park with some shovels on the hillside in the farmcountry. It was fun.