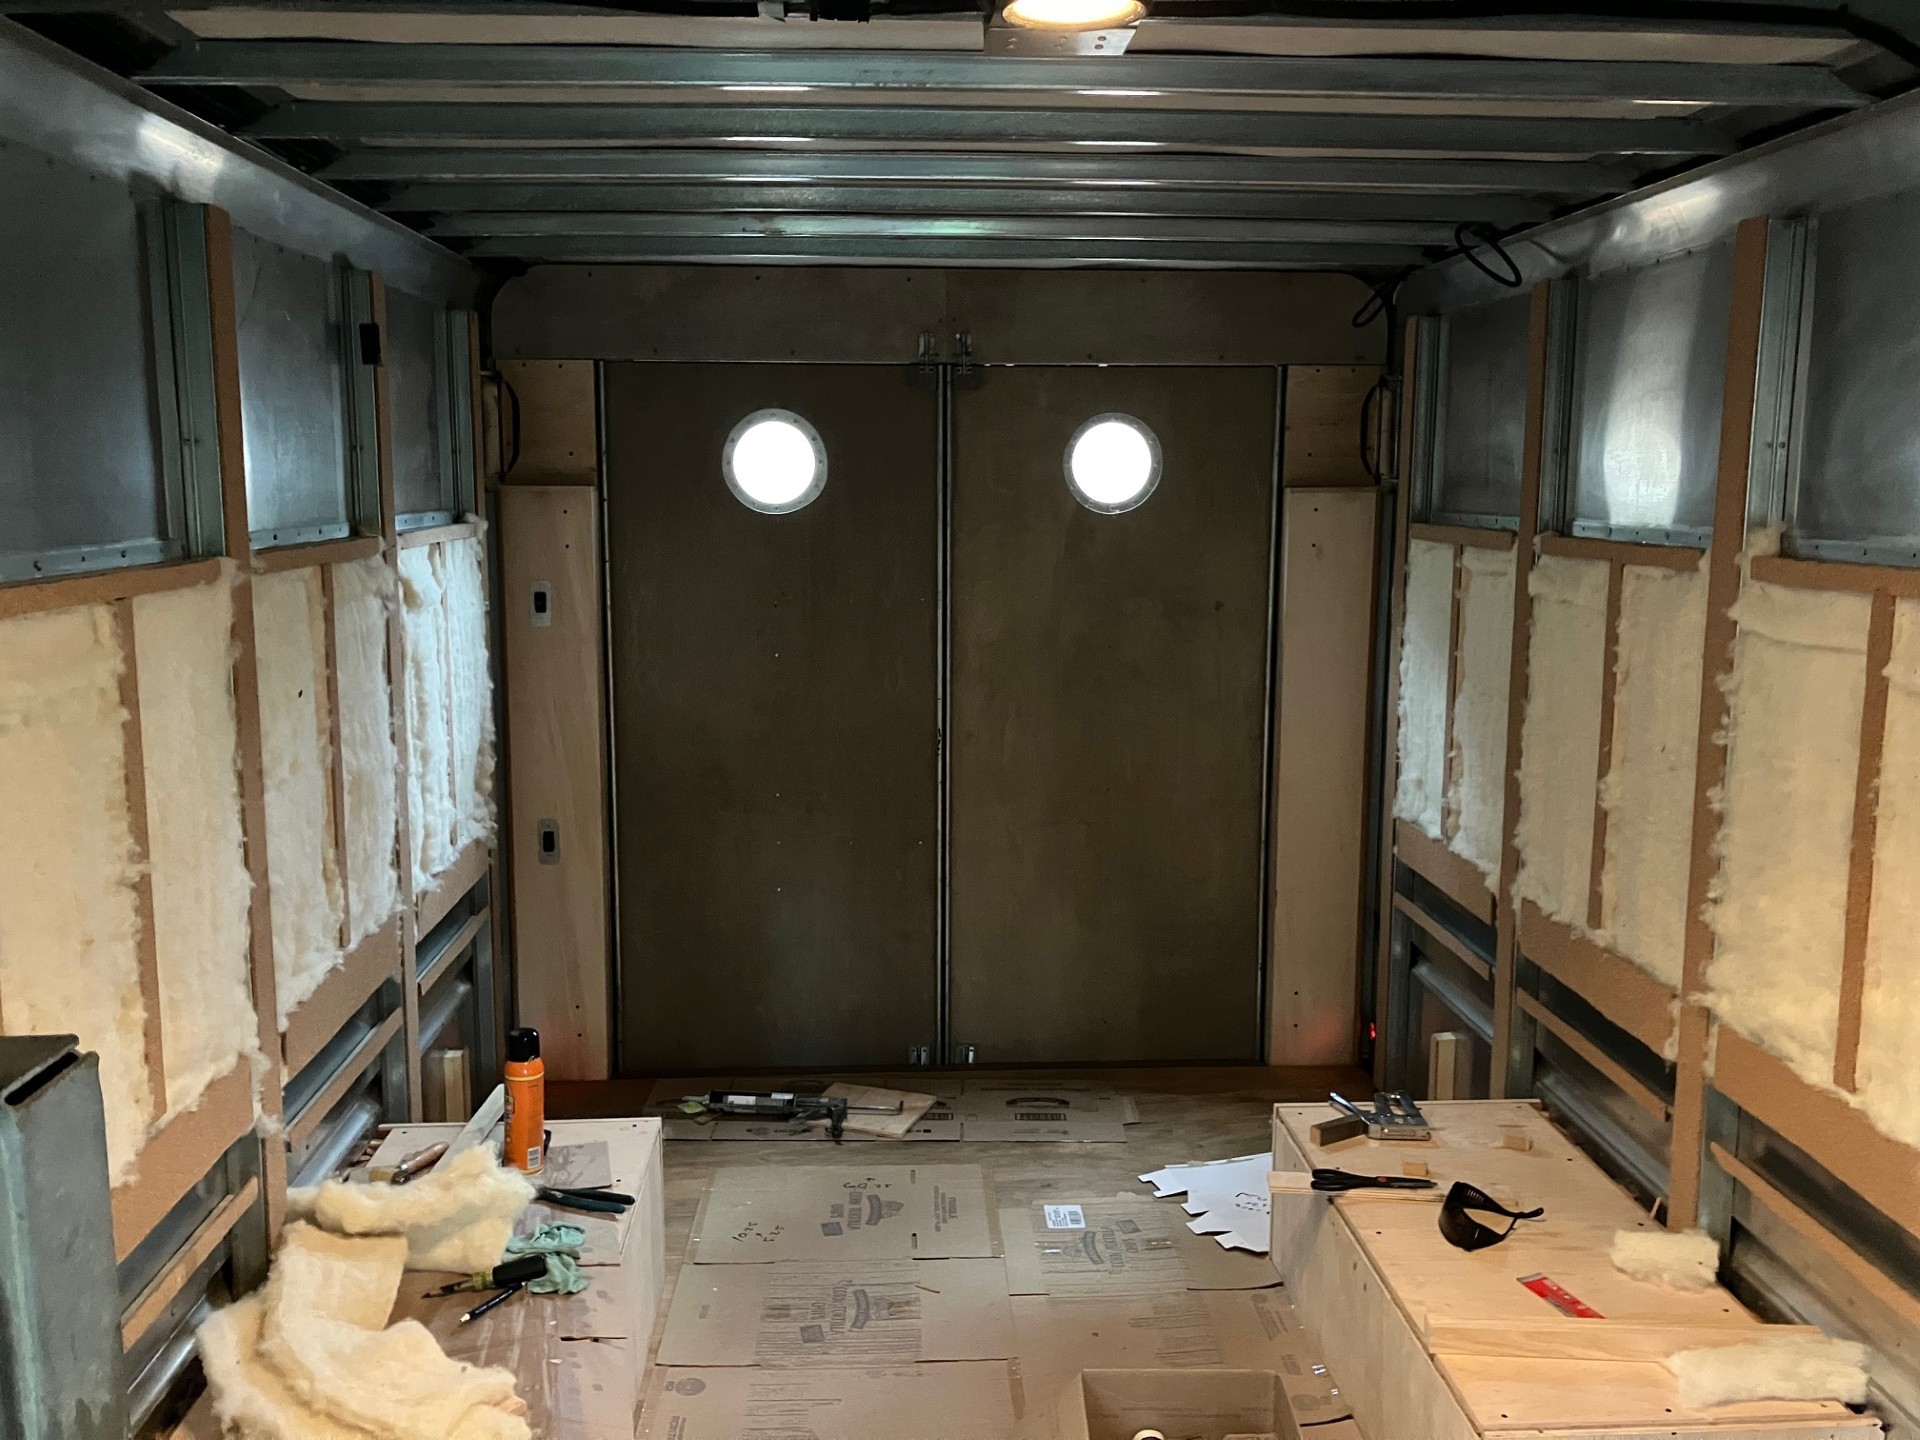
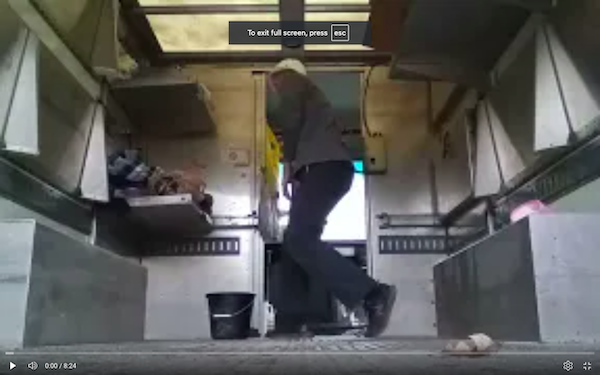
Man these doors have been a lot of work. I made this video probably close to a couple years ago and I have since updated these doors with more rivets, new hinges, a window, plywood interior and insulation.
So originally these vans have a roll up door which I took down and replaced with some doors I made from the cargo shelves that these vans come with. And lots of rivets. Like over 100 per door, plus a few screws and bolts.
Originally I thought of cutting up the roll up door and turning them into swing doors but decided not to. It wasn’t in great shape and was heavy as hell.
I wouldn’t do it this way again as it took a lot of time and they are flawed but I’ve definitely learned something along the way.
Recently I replaced the rusty steel hinges with aluminum. I went from 2 per door to 4 per door. The aluminum hinges were like $30 a piece so kinda expensive.
In this pick you can see only 3 aluminum hinges and the rusty hinges still on the door but they are gone now.
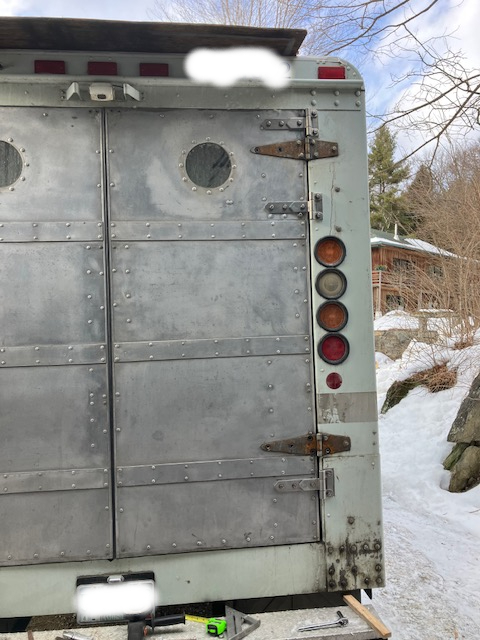
So I left the old hinges on while I added the new ones which means I didn’t have to take the door down which is a huge pain. Not fun. Well easier to take down than put it back up.
I used some bike inner tubes to weather strip the outside and under the doors which worked great. I riveted it to the outsides and stapled underneath. But I couldn’t use it above as the space was smaller or in the center for the same reason so I used some commercial stuff instead.
I was thinking 2 hinges was probably not enough and I couldn’t put a third hinge in the middle since the lights were there and I saw some step vans had 4 hinges per door so that’s what I did. Two of those steel hinges were probably better than two of those aluminum hinges though since they were longer and had more surface area, but they are steel and rust.
Lots of work went into these doors. I’ll see how they’ll hold up overtime.
Hanging the doors was super hard and they are still not aligned perfectly but best I could do. Too tight where they come together on the top when you close them.
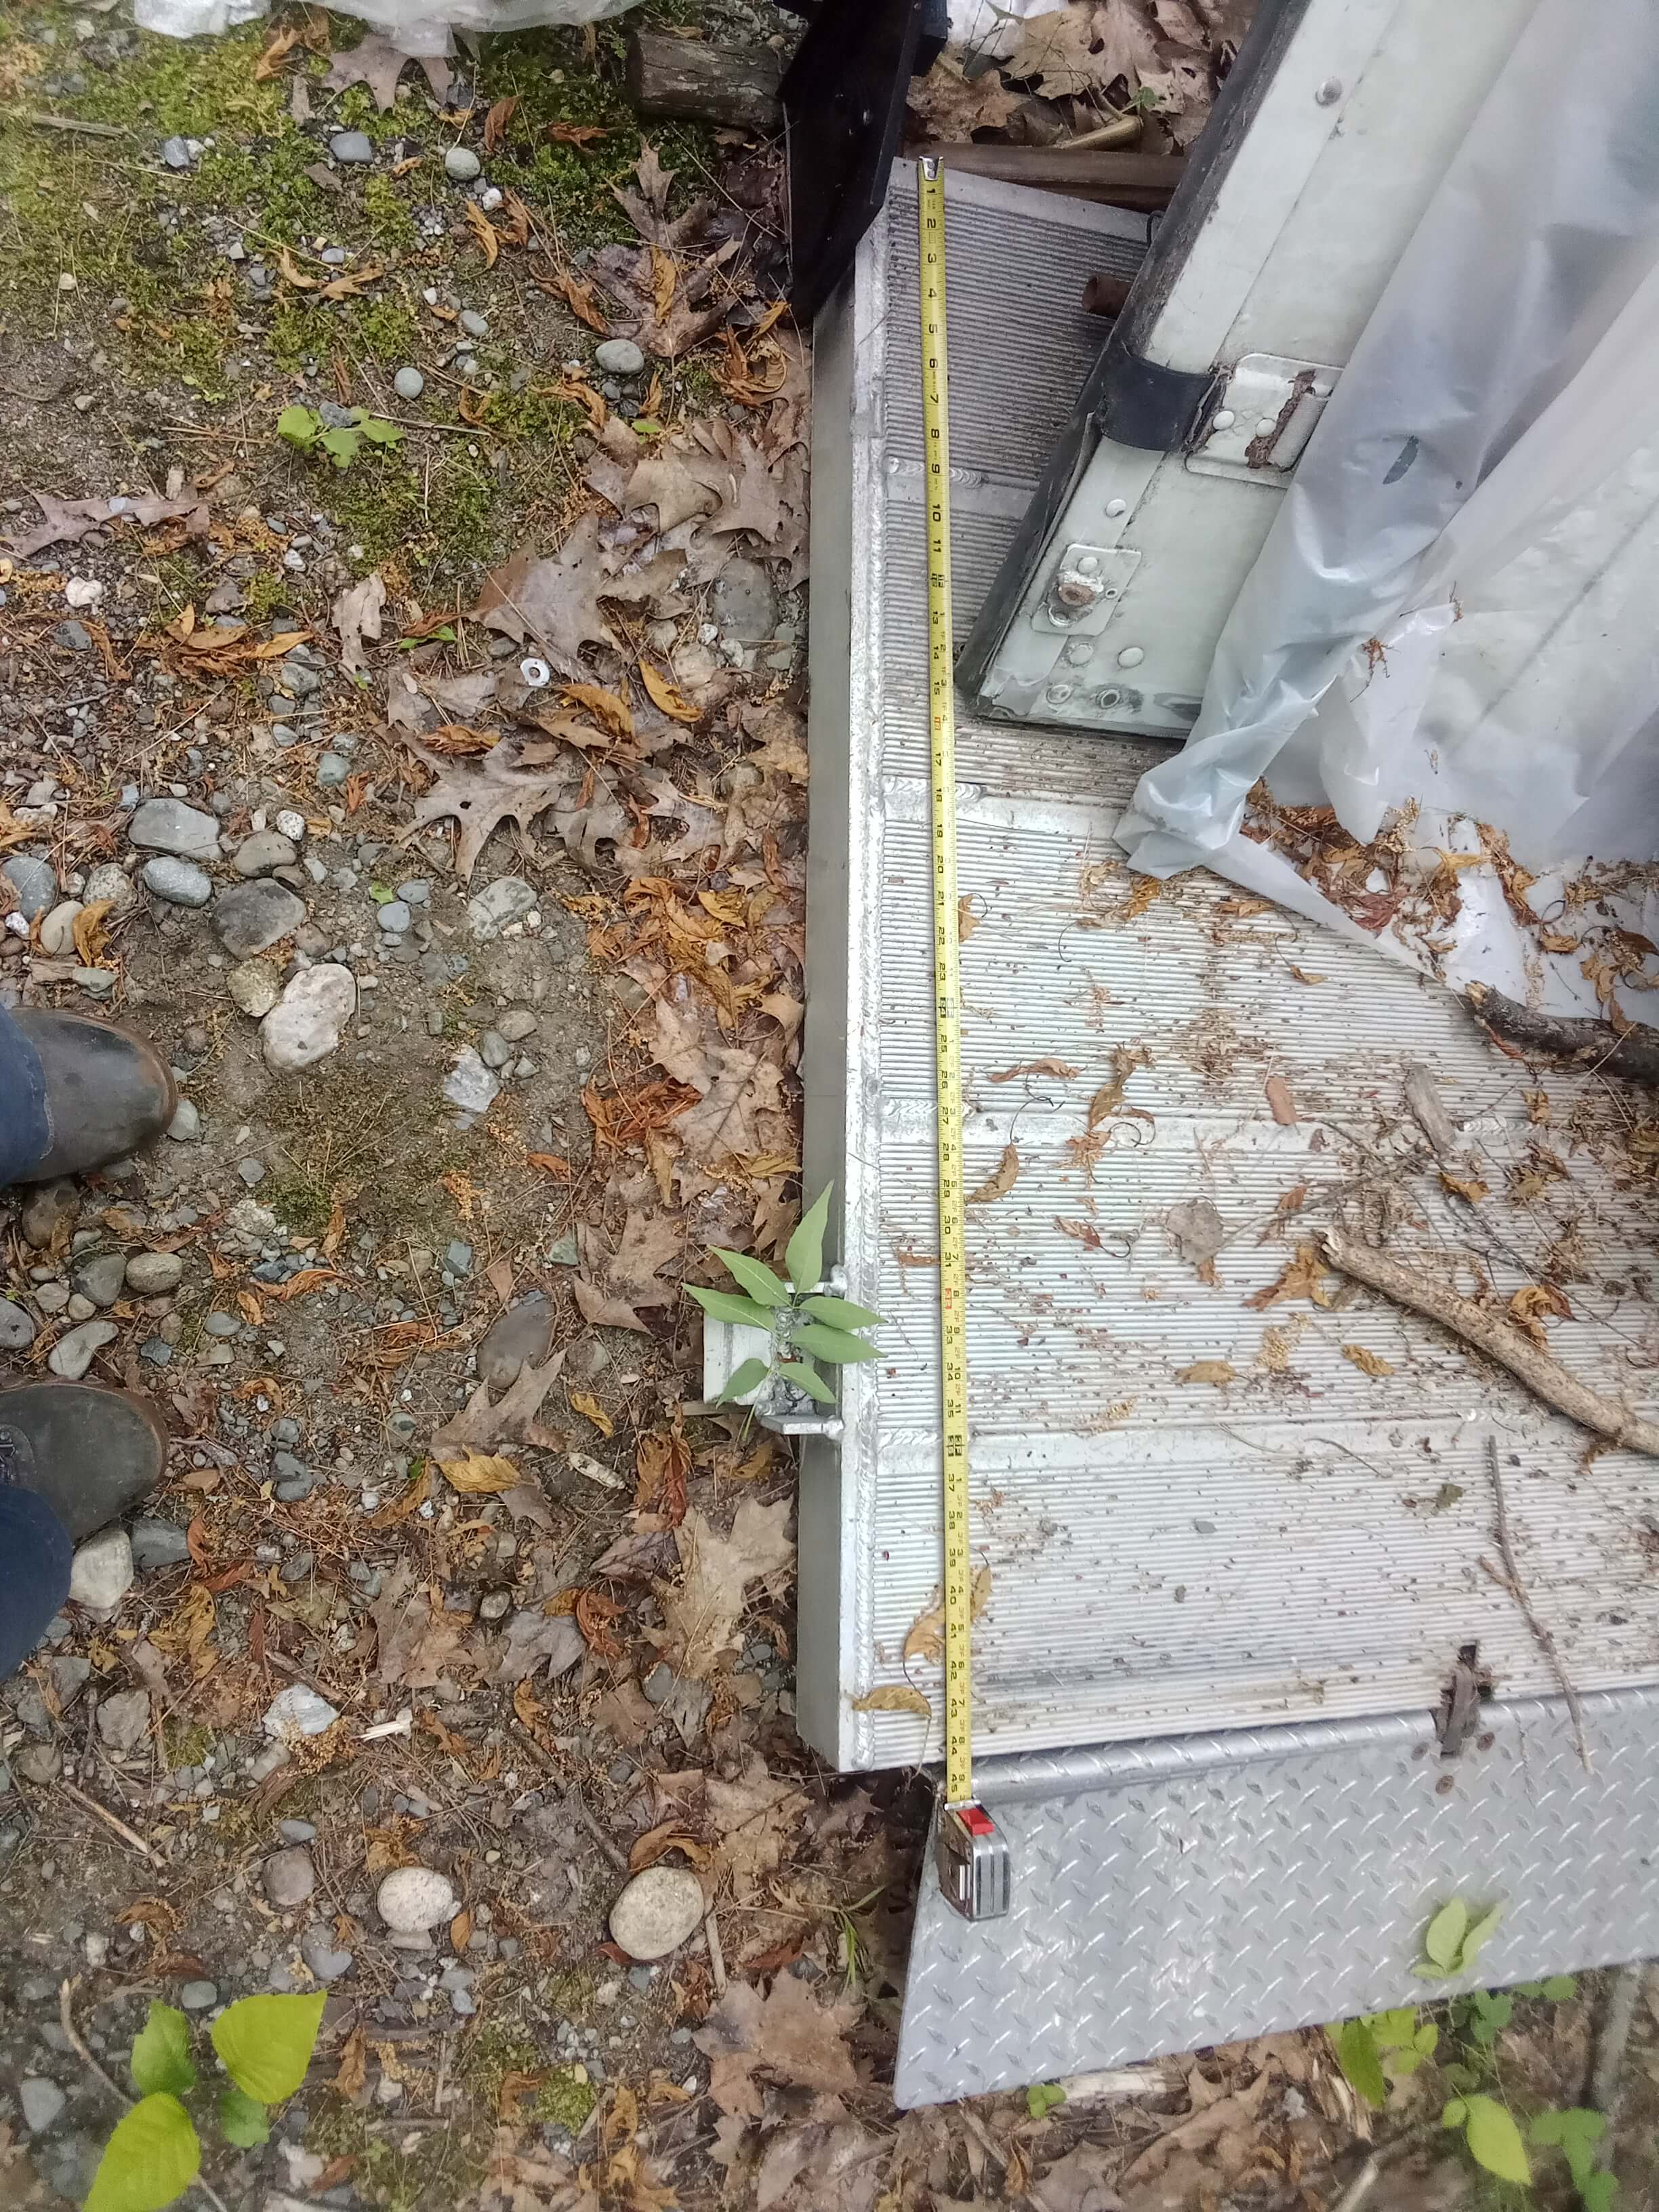
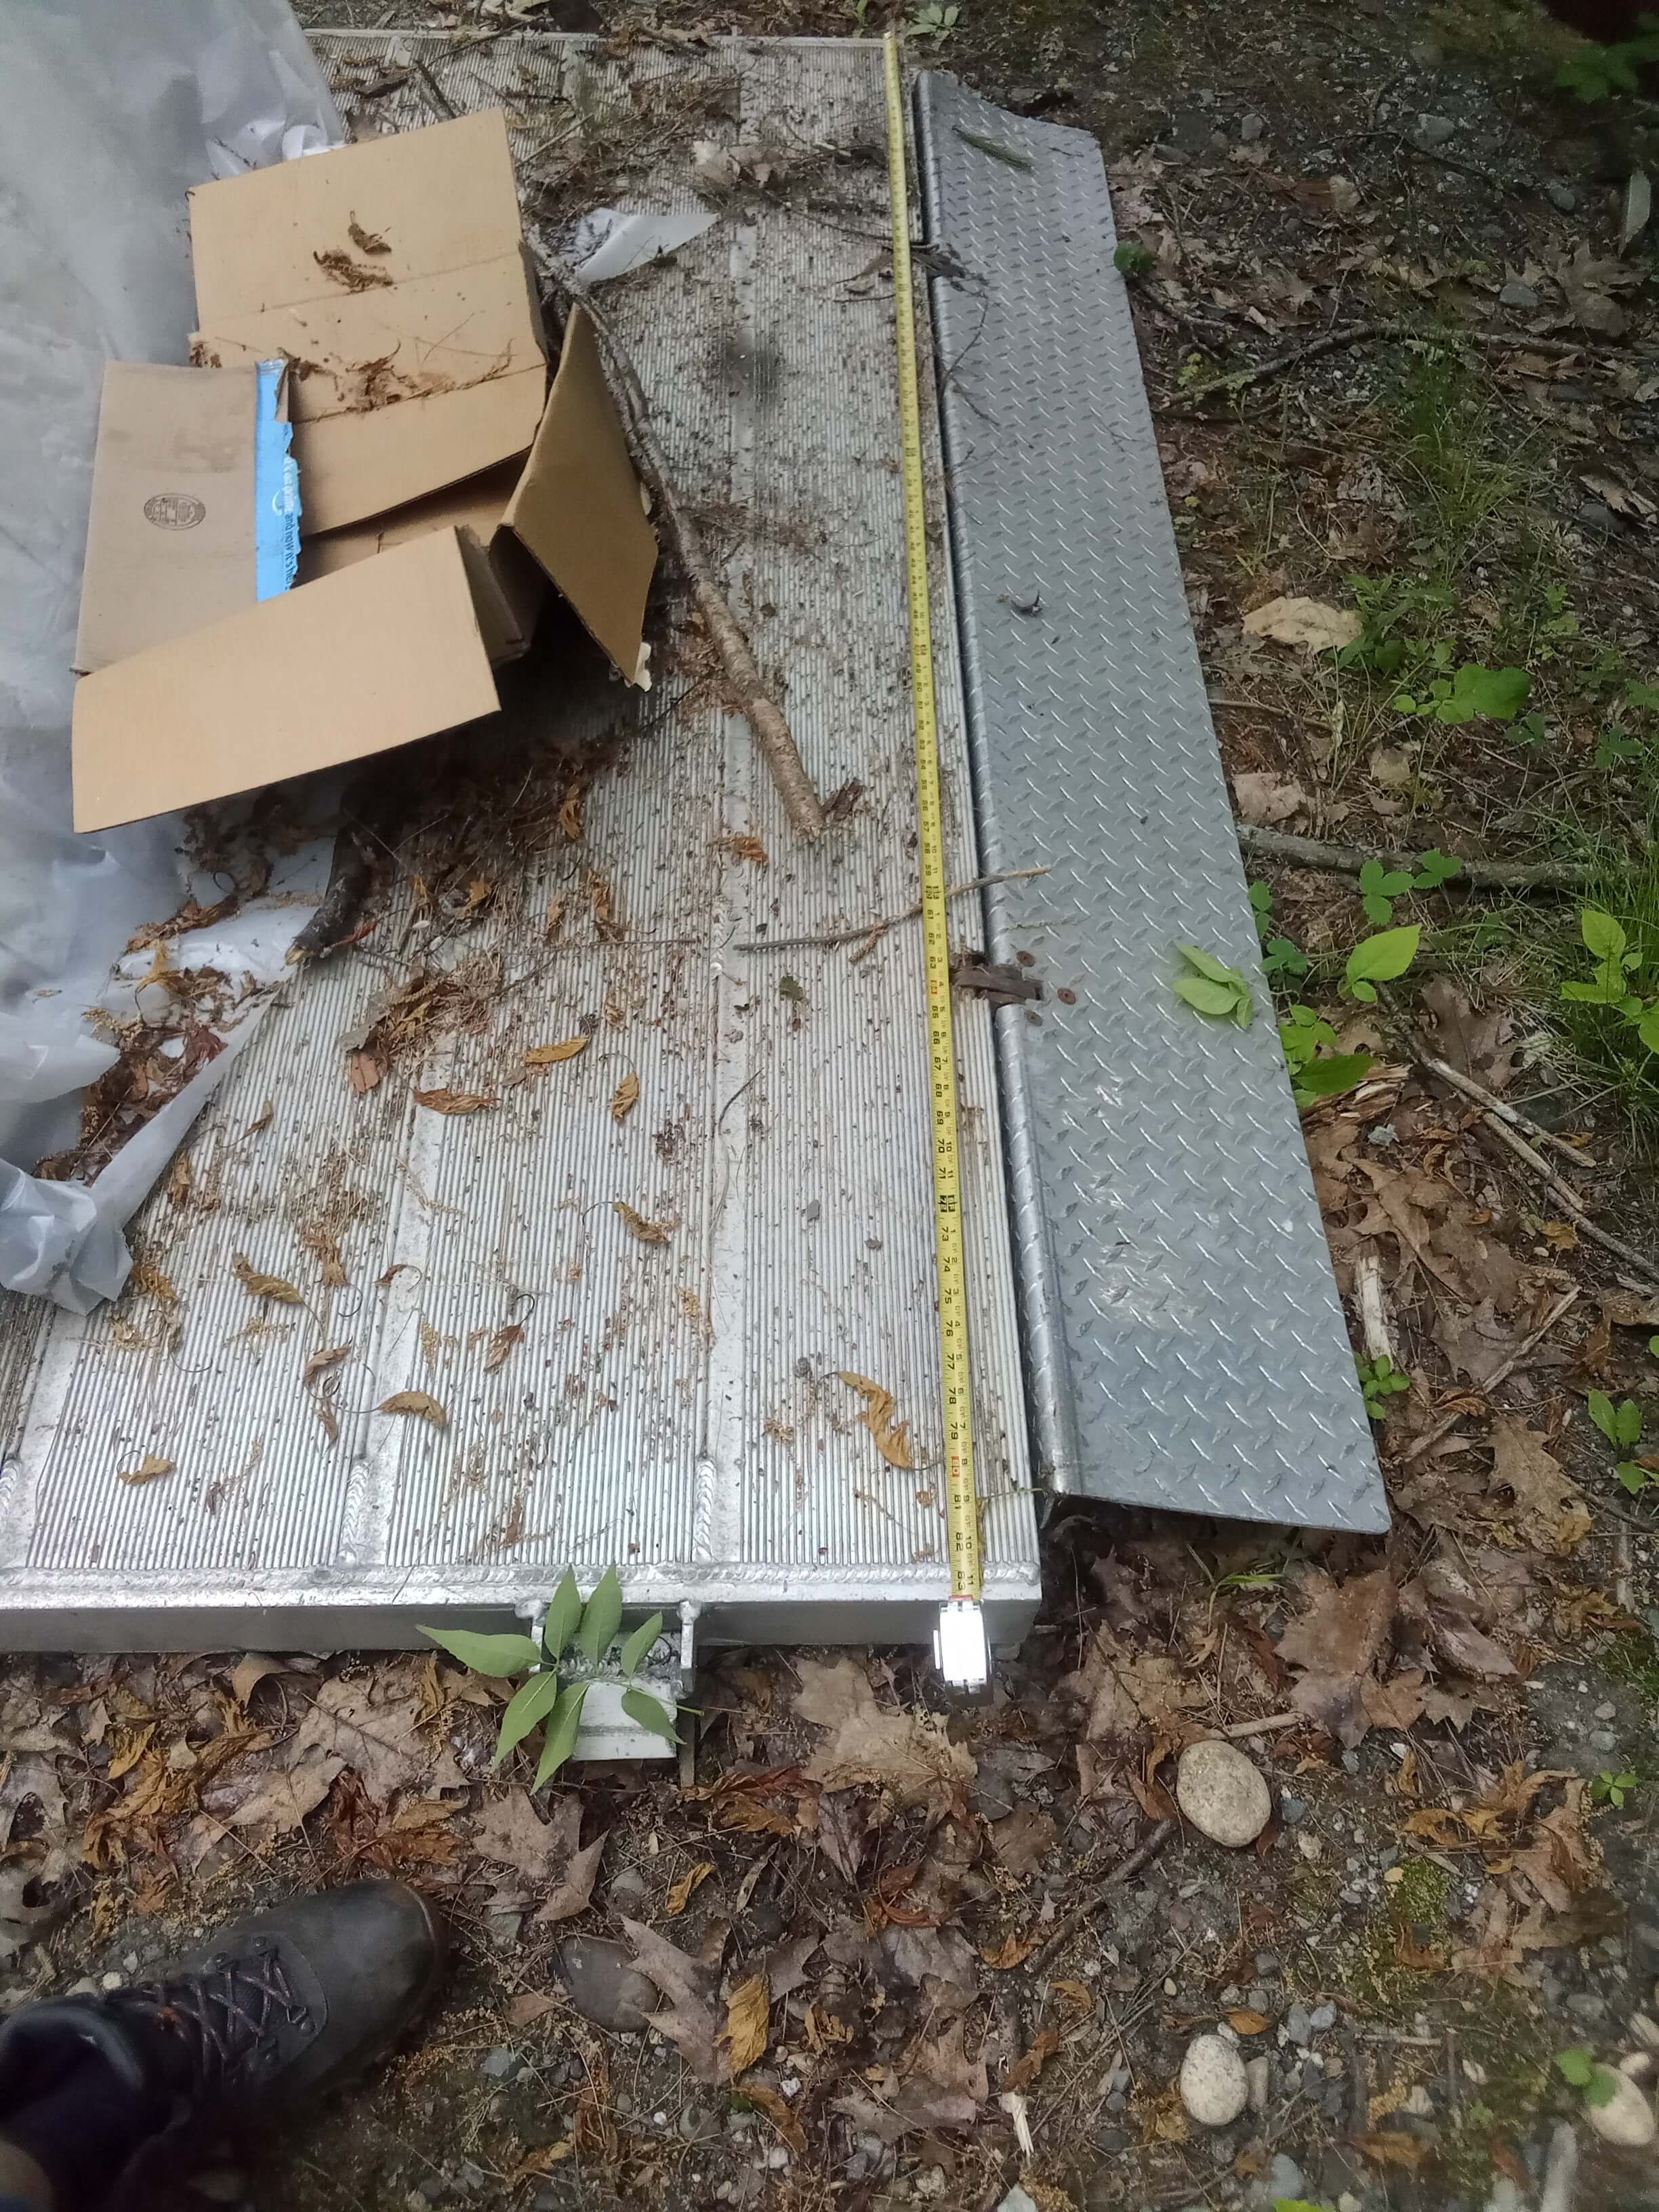
The sides of the doors are strong as they are made with folded aluminum that was on the edges of the shelves.
In this pic you can see a bit of the door on the interior. There is a deadbolt on the top and bottom. I haven’t figured out how to do one in the middle yet. I don’t need a handle outside. I prefer it without yet another lock there would be good yet not sure how to do it since the door isn’t solid.