This is a review on the Deeluxe Areth Rin snowboard boot. Over the last few years I’ve tried on a lot of snowboard boots. Over the last 4 seasons I rode the Thirtytwo TM-3 and the Ride Fuse putting in around 200 days per boot.
I am going to talk about those other boots at first and compare them a bit before getting into the Areth Rin. You’ll find a bunch of pictures and a video on the Areth towards the end of this article.
But all those days on those boots weren’t comfortable days. Lots of pain and discomfort. Lots of modifications and with each of those boots and I bought different sizes. With the TM-3 I got the 9’s at first they loosened up and then I got the 8.5’s.
With the Fuse’s I bought an 8.5 first and they were too big so I sent those back and got the 8’s and rode those for a while and then decided they were too big and got the 7.5’s which were better volume fitting but ultimately too short on my left foot.
Whatever boots you get know they will loosen up
After a couple of days or a week or more they will loosen up so whatever they feel like on day one won’t be how they feel on day 20, 30, 50, etc.
So the natural inclination is to buy them too big since they only expand after you get them, but you can buy them too small too. Or sometimes they are right on one foot or in some areas but not in the other.
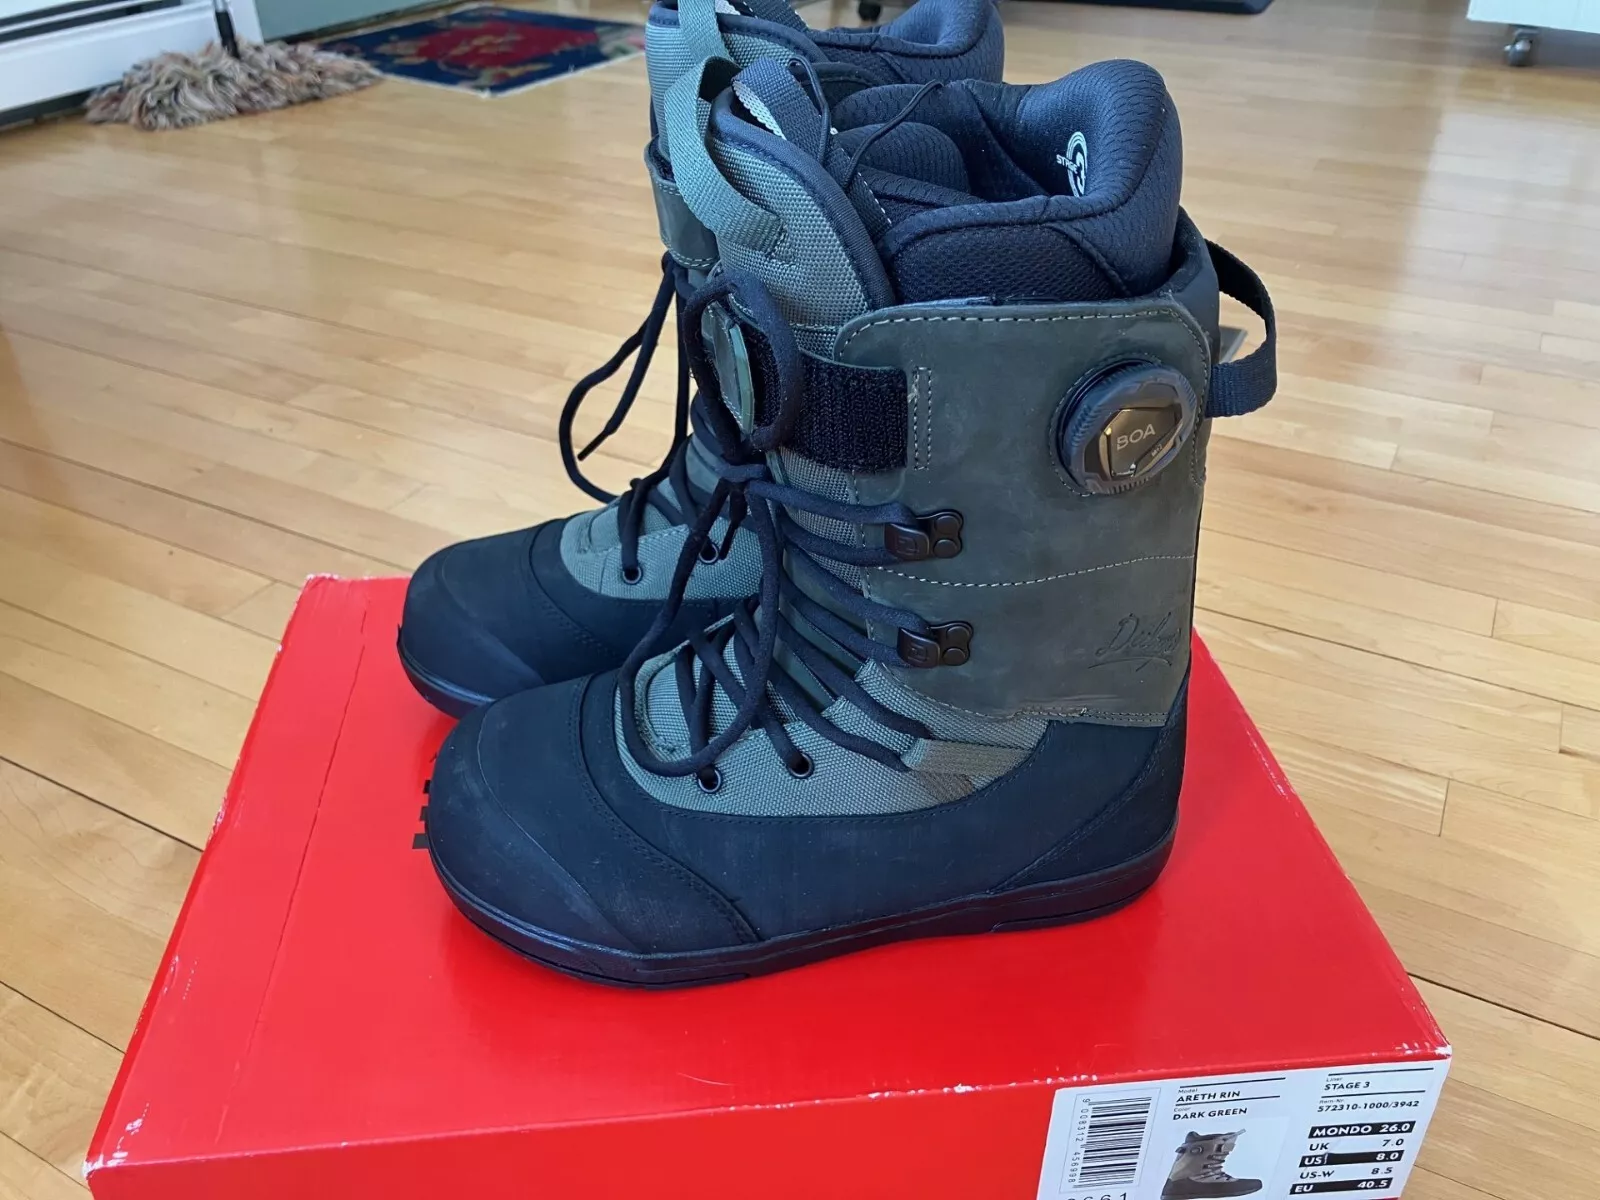
I was tired of pain so last season 2025 I went out shopping again for boots tried on a bunch and found the Deeluxe Areth Rin to be the most comfortable.
But it’s always a challenge for me since I have skinny ankles and two different sized feet and one is more flat than the other.
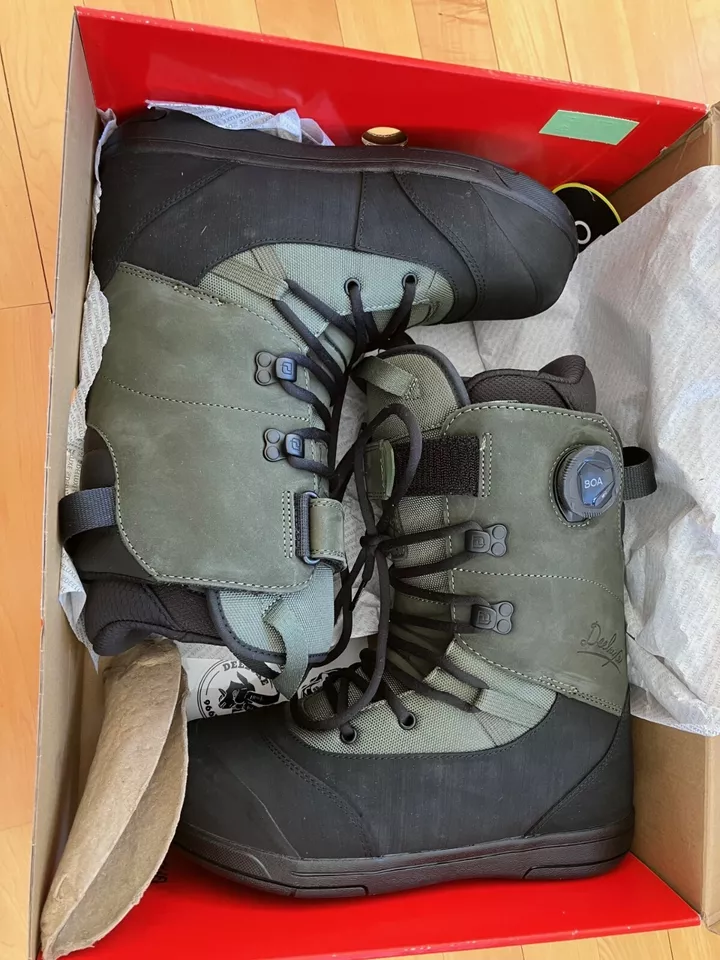
This boot has been sitting in a box though…
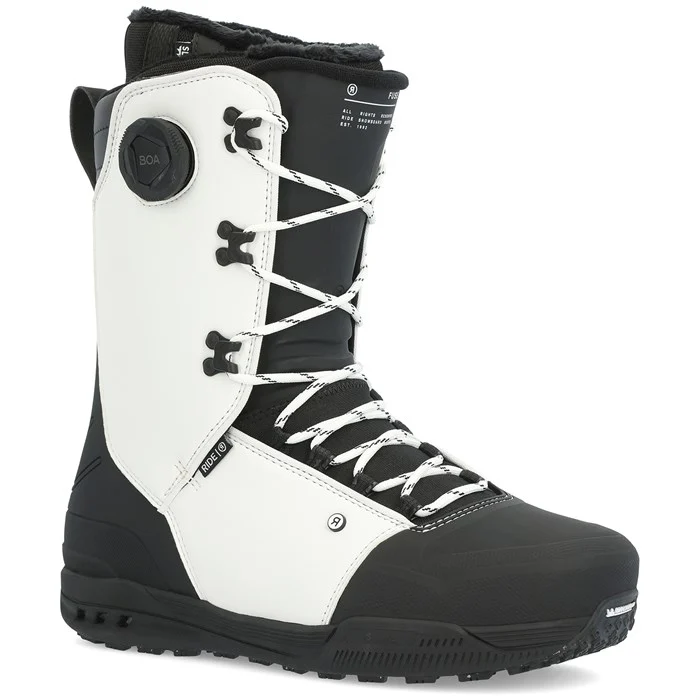
The Ride Fuse is a relatively low volume boot. And I would say that is true of Ride/K2 boots (owned by same company) in general and probably Salomon too.
Thirtytwo boots are not usually low volume. Although the new Grenier boot looks lower volume. But the TM-3’s I had were a heavy duty boot and same with the popular TM-2’s.
Are Deeluxe boots low volume?
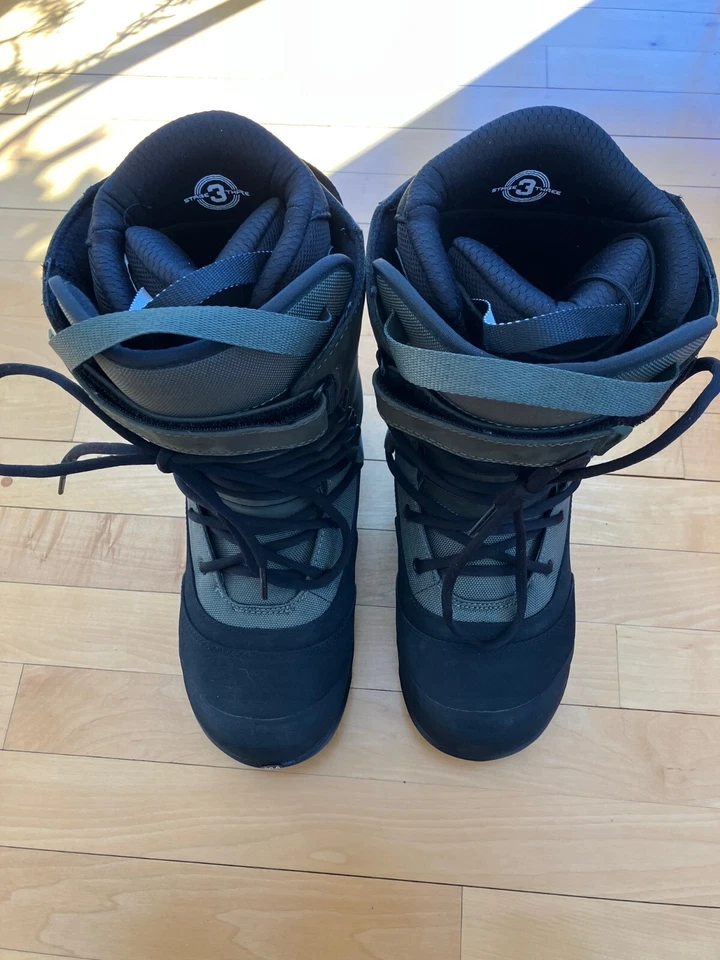
No, I would not say these are low volume. They are kind of bulky and that’s why I haven’t taken these out on the snow. Despite being more comfortable wearing around the house they are relatively bulky so my fear is after I wear these for a week or so then they will loosen up a bunch and then I will have to fill that space with another insole and patches of foam here in there.
Why did I buy the boot?
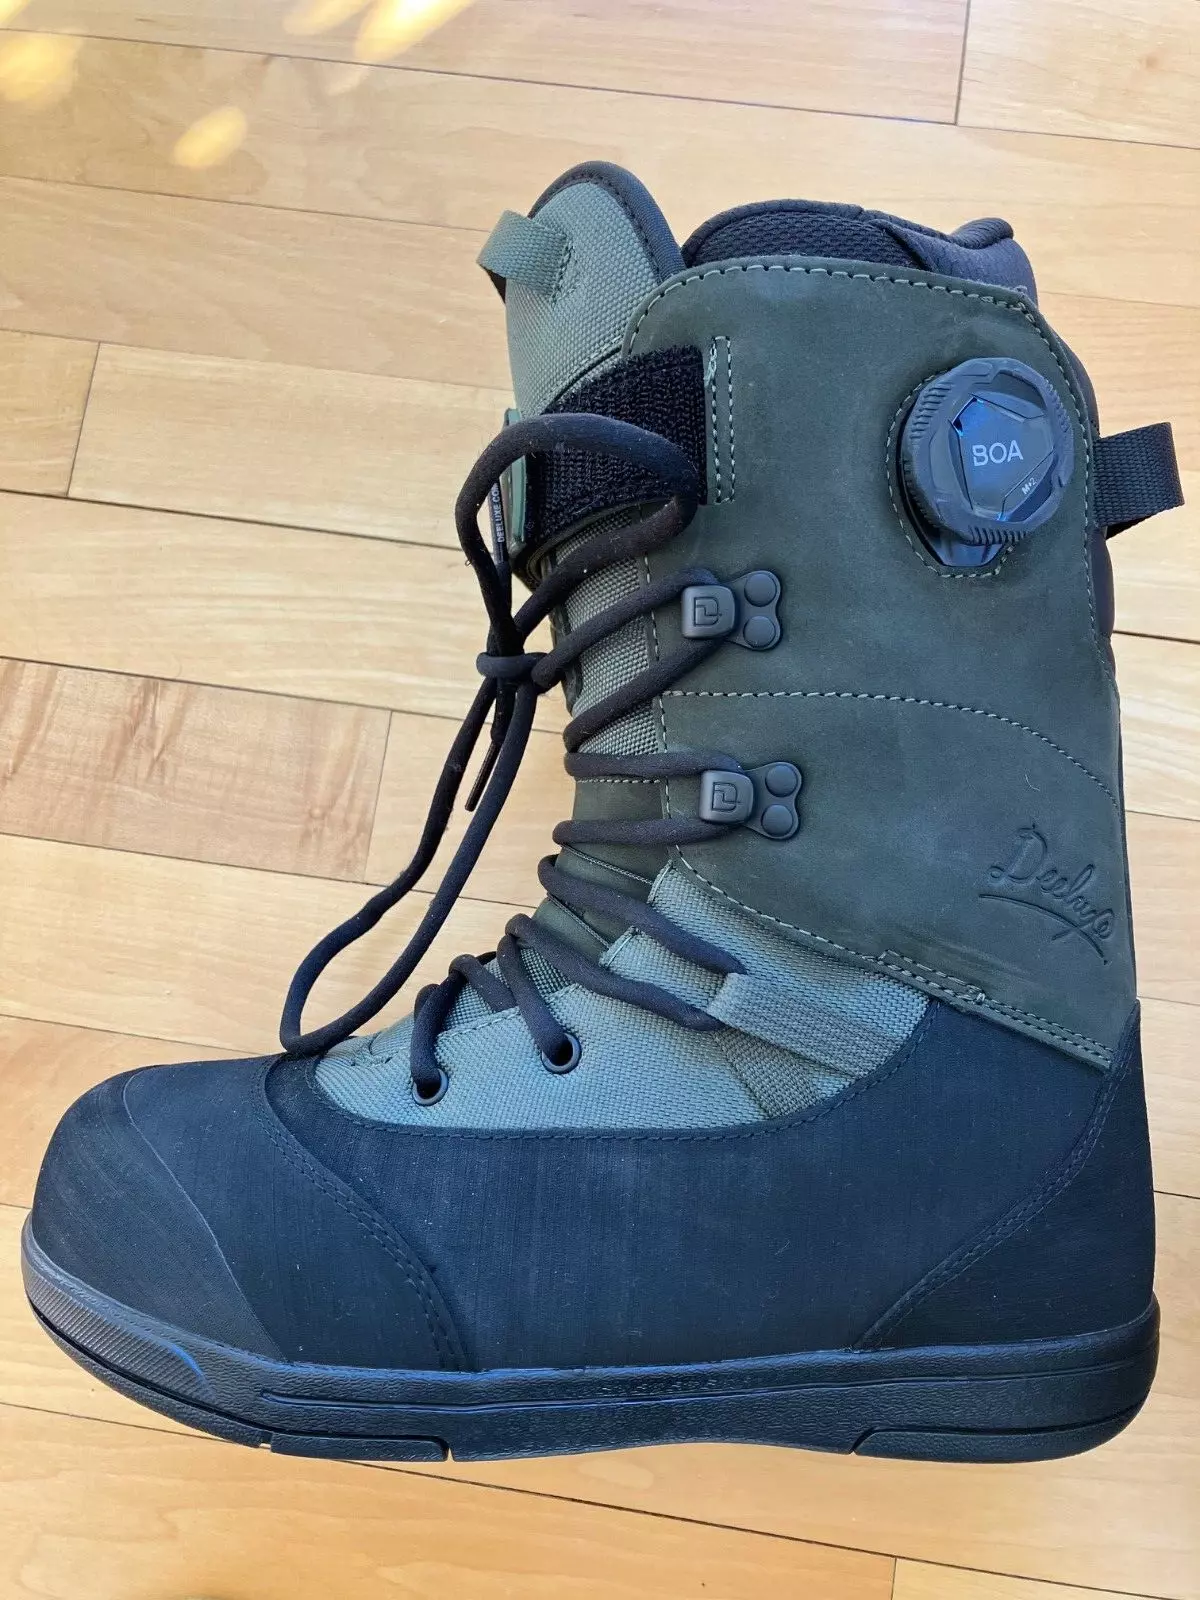
It’s a lace hybrid boot with a BOA. Which is what I like and it was comfortable. I like the simple look too. I think it’s a nice looking boot too. It’s quite a bit softer of a boot compared to the Ride Fuse which is rated an 8 in flex. The Areth Rin is rated a 3 I think which sounds way too soft but it you can get a tongue stiffener to raise that 2-3 points which sounded good.
The liner is a little flimsy looking. I kinda didn’t like the straight back of it or the shell. The Ride Fuse liner/shell is better molded and I liked the look of the wrap liner at first, but it added pressure points and little bruises on the top of my shins. It didn’t really flex naturally so I wouldn’t use that type of liner again.
So am I going to take these Deeluxe boots out of the box? IDK. I might so leave a comment if you’re interested and I can give you an update.
I put them on Ebay if you are interested they are a size 8.


Deeluxe says:
Whether it’s a crisp method, a fresh pow slash, or a creative line through the trees, the best riding comes from the soul. United by this belief, DEELUXE and AREth have teamed up to create the
AREth Rin. Armed with a classic appearance, it pairs clean design with rich materials and sophisticated technology.And thanks to its ability to ride any terrain, it’s Kazu Kokubo’s boot of choice. Combining the best of both worlds, its traditional laces offer a timeless look and familiar feel while the boot’s BOA® Fit System allows you to quickly and effortlessly secure your ankle and heel. A rugged leather patch in the ankle zone enhances comfort and durability while further securing your foot.
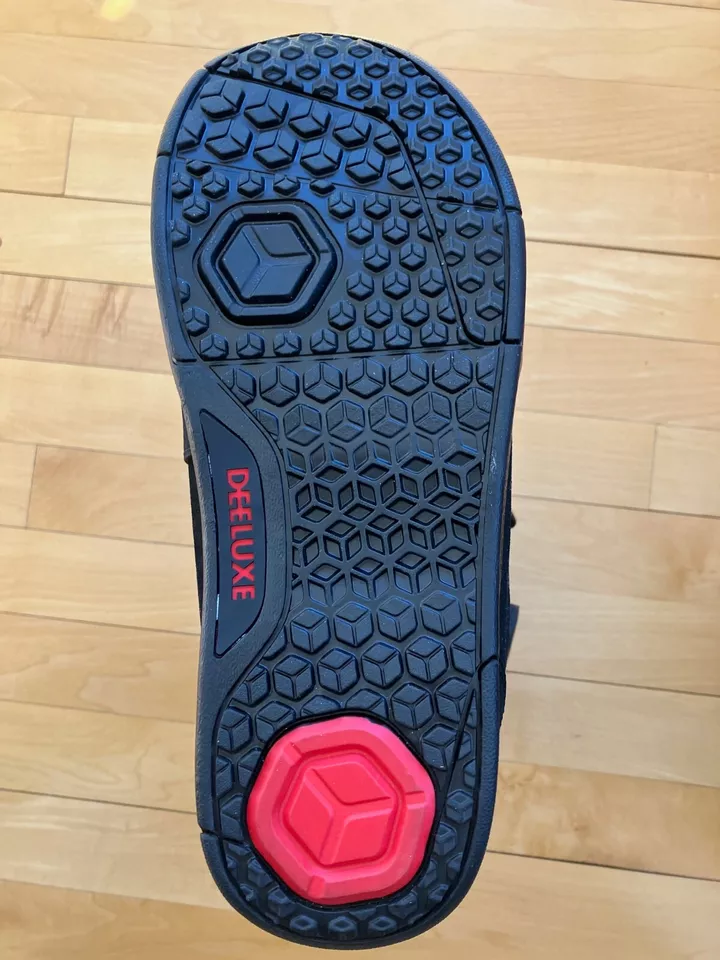
The boot’s Stage 3 liner provides a truly custom fit while its Skate Flex sole offers unsurpassed boardfeel. Inspired by the boot’s refined design and impressive performance, Japan’s Freerun magazine recently honored the AREth Rin as one of the top picks in the freeride category of its Best Gear Awards. If your riding comes from within, consider the AREth Rin your soulmate.